Today I will be transforming Penny Black's "Sparkle" flower into a magnet.
Stamp flower twice with black pigment ink on watercolor paper and heat emboss with clear powder. Trim one complete flower and the center of the second flower.
Color images by applying marker ink to a plastic palette and transferring with a damp paintbrush. After the coloring has been completed, run a black (N15) dual brush pen along the cut edges.
Stamp the flower on the white side of the fuchsia cardstock and trim.
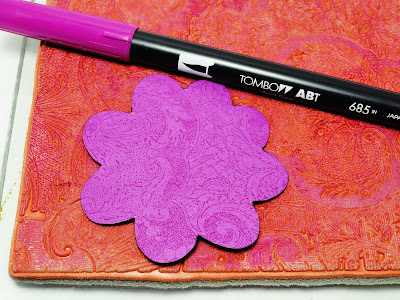
Turn the flower over and stamp the decorative background by applying ink from the marker (685) directly to the rubber stamp. Lightly “huff” on the ink, stamp the image and trim.
Lay the trimmed flower fuchsia side down and use as a guide to align the water colored flower on top. Apply adhesive from the Stamp Runner and adhere the two images together.
Apply 3D Foam Tabs to the center embellishment and attach to the flower.
Add dots of adhesive from the Tombow Glue Pen to the center of the flower and sprinkle with crystal glitter. Tap off excess glitter.
Attach a Power Adhesive Tab to a magnet.
Attach the magnet to the back of the flower.
Create decorative note paper by inking the decorative background stamp with a Tombow Dual Brush Pen and stamp on light-weight cardstock.
Tomorrow I will have a "Thinking of You" greeting showing how to make your own shadow blocks in the third (of four) Tombow Guest Designer Tutorials.
Thank you for visiting,
Elizabeth
Tomorrow I will have a "Thinking of You" greeting showing how to make your own shadow blocks in the third (of four) Tombow Guest Designer Tutorials.
Thank you for visiting,
Elizabeth
Supplies:
Penny Black Stamps: Sparkle 4183K, Majestic Composition 40-049
Penny Black "Mix & Match" Cardstock: Fuchsia Fantasies 13-003
Tombow Dual Brush Pens: 026, 055, 685, 725, 835, 985, N15
Other Materials:
Watercolor Paper
Black Pigment Ink
Clear Embossing Powder
Crystal Glitter
Magnet
Heat Tool
Paintbrush
Scissors


