February 28, 2011

Fresh Flowers

As you can see, beautiful blooms have been occupying my thoughts....


For all three designs, I used the grass from Sweet Home.


The trimmed grass is elevated with dimensional foam and embellished with flowers from the "Go With Your Heart" Slapstick set.  The twine was colored with Copics to make it a bit more rustic.  


The flowers have a bit of Star Dust Stickles painted on for sparkle and the small font is from the transparent "Illuminations" set.  To create the slight dimension in the flowers, I placed them on a foam mat and pressed the centers with an embossing stylus.

After completing the thank you card, I challenged myself to use some of the bits and pieces left over to make another greeting.


This skinny card uses a scrap of green cardstock which I stamped with the grass in Spanish Moss VersaFine.  I had a little bit of trimmed grass left over from the thank you card which was elevated with dimensional foam.  The flower and sentiment are from "Mimi in Paris".  I keep a lot of white and cream ribbon on hand which I alter to match my projects.  This satin ribbon was colored with a purple Copic marker.


It's funny how something as small as a pearl can change the appearance of a flower.  This card is my favorite.

While I was cleaning up my desk, I came across one blade of grass and a single flower - perfect for an "inchie".


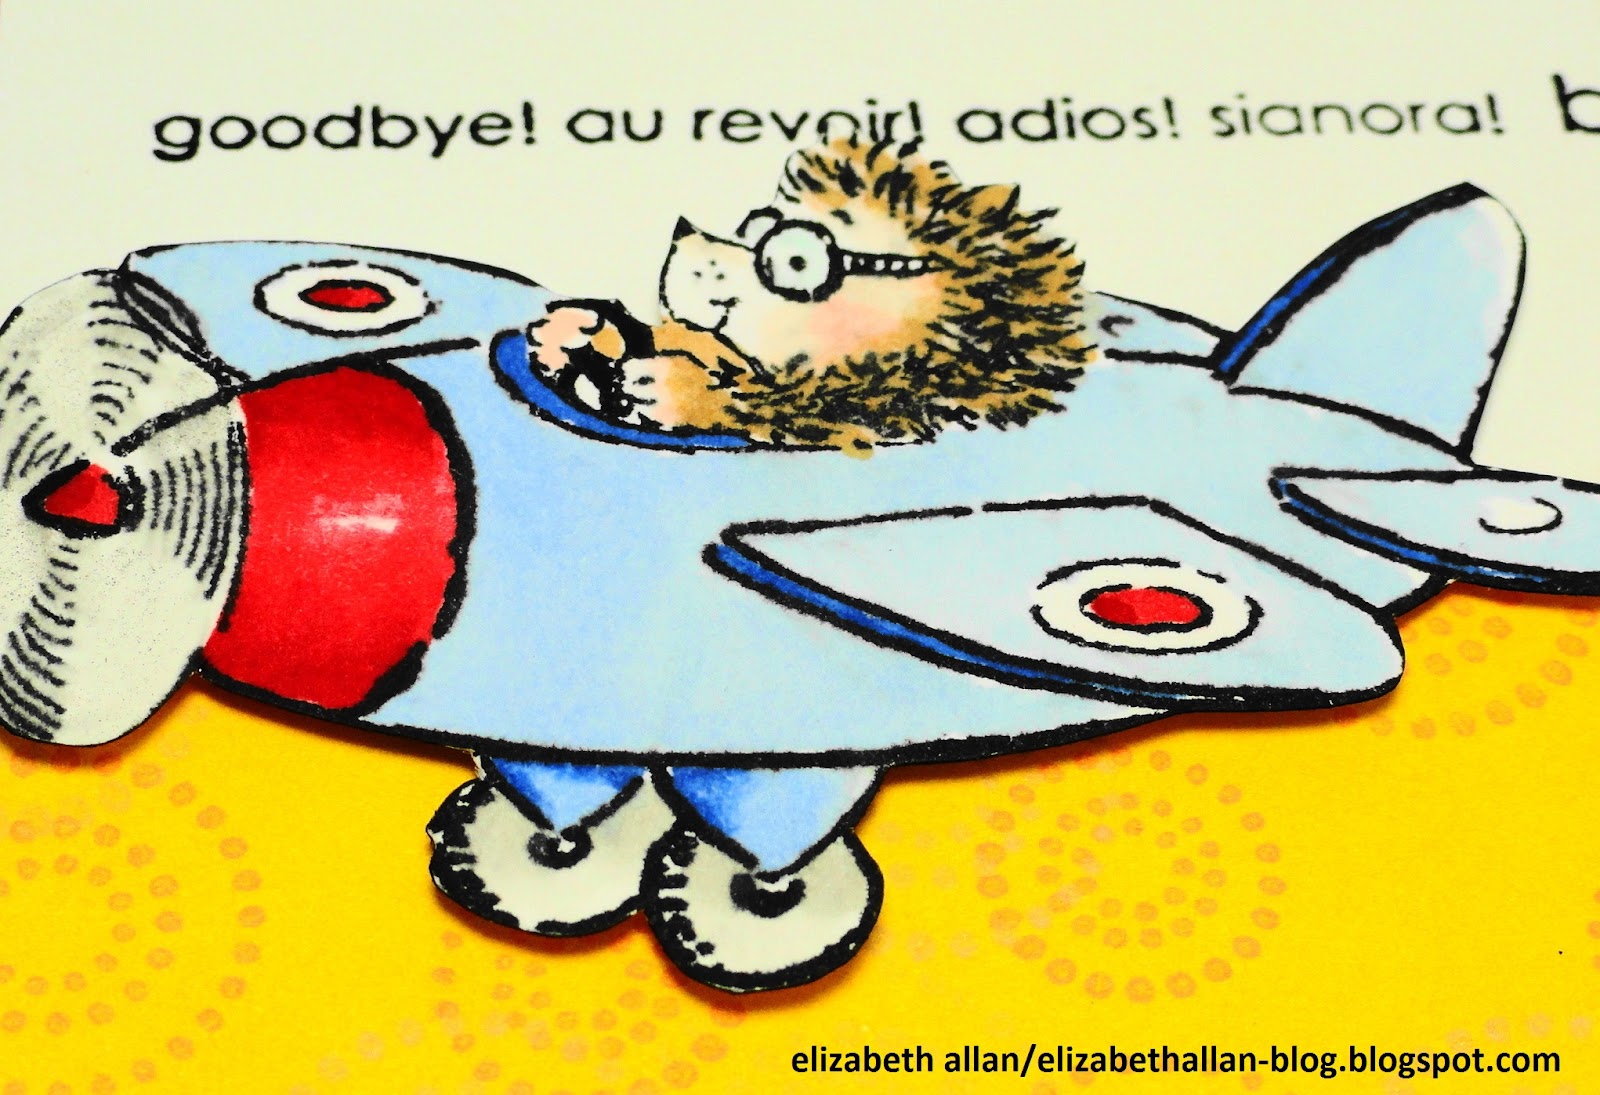
Sentiment from Betsy Bluebell
I must admit that I probably wouldn't have thought to make this teeny, tiny card if I hadn't been inspired by my friend Angela who posted one recently here.  I edged the card with a black Copic, but if I made it again I think I would use dark purple. 

I will be back on Wednesday with a new card and to announce the winner of the Sticky Giveaway

Smiles,
Elizabeth

Supplies:
Penny Black Mix & Match CardstockFuchsia Fantasies 13-003, Summer Sun 17-002, Spring Meadows 06-001
Tsukineko:  Onyx Black VersaFine, Spanish Moss VersaFine
Copic Markers
Tombow: Permanent Adhesive
3M Scotch:  Dimensional Foam Tape
Ranger:  Glossy Accents (used as a glue for the flowers), Star Dust Stickles
Offray:  1/8" White Satin Ribbon
Mark Richards:  Pearl Sticker Accent
Clear Embossing Powder
Twine


February 25, 2011

Little Tidbits

Hello Everyone and happy Friday.

Today is a "tidbit" kind of day with lots of little happy things to share.

It has been fabulous whirlwind of activity this week.  In addition to hosting an Easter card challenge on the Penny Black Blog, I have just returned from the CHSI convention in Birmingham, England which is similar to a CHA convention.  A very quick trip filled with lots of laughter, friends and Penny Black demonstrations!

I am busy catching up all things "crafty", but wanted to take a moment and extend a special thank you to all of you that visit my blog and leave such warm and inspiring comments.  I am honored to have you spend your time to visit.  

Recently I received some blog questions and wanted to share my responses:   

 Susan, Charlotte, NC said...
Your "fussy" cutting is so perfect. Do you recommend a particular type of scissors for this? What do you use? Always love to check in and see what you're doing. Always unique and beautiful! Thanks!  February 21, 2011 8:28 AM

Thank you for your kind comment Susan.  I use Cutter Bee Scissors.


I have had these for several years and they continue to stay extremely sharp.  I also like the small case which is handy when traveling.  I do all my "fussy" cutting with these along with an X-acto knife for very small, tiny areas. 


Eve said...
hi Elizabeth! Beautifully colored card! Would you tell us what color you used for the shades around the image?? on the pic., it looks a bit of blue??  February 22, 2011 11:02 AM

Eve's comment was in reference to the "Wishing You" card posted here.  For the light blue halo effect, I used a Tombow marker (#491) direct to paper.


Yenni Natalia said...
I love your colouring sooo much :) do you have any tutorial how to colour with tombow till create those beautiful effect? i am in love with tombow markers :)   February 23, 2011 8:21 AM

Thank you Yenni.  I would love to share my technique.  I will work on a short tutorial or video to show how I use the markers to watercolor. 

On a personal note, a Happy Anniversary to my husband who fills each and every day of my life with love, happiness and laughter.  

Enjoy your weekend,
Elizabeth

February 24, 2011

Happy Easter (Day 4 of Design Week Challenge)

Welcome to Day 4 of my design week on the Penny Black Blog here.  I had a great time and I hope you enjoyed the challenge.

Here is my final project.  A small Easter tag.


Did you happen to notice that during the whole week I used the sentiment from "Easter March"?  I used the full phrase on Day 3 and for the other days I used bits and pieces.  It's like getting four stamps in one!!

More "fussy" cutting, watercoloring and dimensional foam.  If you are wondering how I got the texture on the little tan strip, it is made from stamped impressions of the bristles from a hedgie!

There is still time to enter my Adhesive Giveaway here if you are interested in some fun "sticky" stuff. 

Thanks for joining me here and at the Penny Black blog.  Your comments and visits are truly appreciated.

Think spring (and Easter)!
Elizabeth

Supplies:
Penny Black Stamps:  40-059 Easter March, 4133J Scented Garden, 30-069 Hello Friend
Penny Black Mix & Match Cardstock:  Sticks & Stones 02-002, Fuchsia Fantasies 13-003
Tsukineko: Onyx Black VersaFine
Ranger: Vintage Photo Distress Ink
Ribbon:  Offray
Clear Embossing Powder

February 23, 2011

Wishing You a Very Happy Easter (Day 3 of Design Week Challenge)

It is Day 3 of my design week challenge on the Penny Black Blog.  Have you entered your Easter themed projects yet?  If not, don't worry, you have until Sunday to put on your finishing touches and upload into the Gallery.  


Curved rectangle Nestabilities were the perfect size to create this framed window card.  I made a second layer of the flowers with the bunny and the top part of the pot so I could pop it up on dimensional foam.

I look forward to seeing you tomorrow with my last project - an Easter tag.

Elizabeth

Supplies:
Penny Black Mix & Match Cardstock:  Sticks & Stones 02-002
Tsukineko:  Onyx Black VersaFine
Spellbinders:  Curved Rectangle Nestabilities
Tombow Markers
3M Scotch:  Dimensional Foam Tape
Clear Embossing Powder

February 22, 2011

Wishing You (Day 2 of Design Week Challenge)

Welcome to Day 2 of my design week challenge for the Penny Black Blog.

Continuing with the challenge theme of Easter, here is my second card...


I actually stamped the image on watercolor paper and trimmed.  I didn't use any dimensional foam, but attached it directly to the card over a previously stamped image that I used for alignment.  The sentiment is from "Easter March" and was separated into two parts.  The remaining portion - "a very happy Easter" - is stamped on the inside.

Thanks for following along and entering the challenge.  Submissions for the Easter challenge are beginning to appear in the Penny Black Gallery and they are fabulous.  Be sure to jump over to the blog and take a look or leave a comment.

--Elizabeth

Supplies:
Penny Black Stamps:  40-059 Easter March, 40-064 Dreaming Geraniums
Penny Black Mix & Match Cardstock:  Rose Garden 14-002, 14-003
Tsukineko: Onyx Black VersaFine
Tombow Markers
Clear Embossing Powder

February 21, 2011

Happy Easter (Day 1 of Design Week Challenge)

Hello Everyone.

This week I am designing for the Penny Black blog and hosting a challenge.  I will have a new card Monday through Thursday incorporating the challenge theme of "Easter".  You can read all about the challenge here and on how to enter your creative masterpieces for a chance to win great prizes.

Today's card features Penny Black's new slapstick stamp "Easter March" and a fun transparent set called "Trims".  Just to warn you - you will be seeing me use the wave pattern quite a bit.  After one impression I was hooked.


I love to "fussy" cut so of course I couldn't resist trimming this cute hedgie and Easter cart after he was water colored.  The dots on the Easter egg are accented with white foam paint.

If you haven't seen the new cardstocks by Penny Black you can take a peek here in their latest spring catalog.  Aren't the colors great?!  The tritone color sets make mixing and matching a snap!

I will see you tomorrow with another Easter card.

Have a sunny day,
Elizabeth

Supplies:
Penny Black Stamps:  40-059 Easter March, 30-068 Trims
Penny Black Mix & Match Cardstock:  Summer Sun 17-002, Fuchsia Fantasies 13-003
Tsukineko:  Onyx Black VersaFine, Persimmon VersaMagic
3M Scotch:  Dimensional Foam Tape
Tombow Markers
Watercolor Paper
DecoArt:  White Foam Paint
Clear Embossing Powder

February 18, 2011

Baby Boy Congrats!

My admiration for artists that make baby buggies out of die-cut circles inspired me to create this card.


Penny Black's new "Cute As A Button" slapstick set is not only adorable but also versatile.  I like getting two different sized buttons from one stamped impression.  Even if I just need one or two at the moment, I can save the rest to customize for future embellishments.


I used a combination of Nestability circles and scallops with Penny Black's new Mix & Match cardstocks to create the card base and buggy.  The green die-cut circle was created from white cardstock and colored with Copics to match the buttons.


If you need a tag rather than a card, just sneak a loop of ribbon up at the top before you attach the front and back layers together.

Next week starting on Monday, I have a fun four-day event to share with you.  I hope you can join me. 

Enjoy your weekend,
Elizabeth

Supplies:
Penny Black Stamps:  40-052 Cute As A Button
Penny Black Mix & Match Cardstock:  Summer Sun 17-002, Periwinkle 11-001
Tsukineko:  Onyx Black VersaFine
Spellbinders:  Scallop Circles, Standard Circles
Copic Markers
Sakura:  White Gelly Pen, Black Micron Pen
3M Scotch:  Dimensional Foam Tape
Clear Embossing Powder

February 17, 2011

It's a Girl - Framed Globe Art

Yesterday I mentioned that I had another decorated globe to share with you....


Can you tell how much fun I am having with these globe kits from Globecraft Memories?  This time after stamping the blank rings I stacked them according to size and added scallops to the smaller ring.  You can see my technique for creating scalloped edges here in this project.  The baby hedgie was stamped multiple times and layered with dimensional foam. 

I hope I have inspired you to create "globe art" and will share more in future posts.

Continuing with the baby theme, I have a baby boy card to share with you tomorrow. 

Thank you for stopping by my studio.  
Elizabeth

Supplies:
Copic Markers and Black Multi-Liner Pen
Tsukineko:  Tuxedo Black Memento, Lilac Posies Memento, Onyx Black VersaFine, Persimmon VersaMagic, Sea Breeze VersaMagic, Jumbo Sponge Daubers, Clear Embossing Powder, Black Memento Marker
USArtQuest:  Duo Embellishing Adhesive
Tombow:  Permanent Adhesive
3M Scotch:  Dimensional Foam Tape 
Art Glitter by Barbara Trombley:  Ultrafine in Angel Dust
Sakura:  White Gelly Roll Pen, Black Glaze Pen
Tool:  ½” Circle Punch
Other:  Yellow Button, White Twine 

February 16, 2011

Thanks a Bunch - Framed Globe Art!

Today I have something a little different from a card.  First I will let you take a look....... 


Let me start by saying that working with these globe kits is sooo much fun and highly addictive for both stampers and scrapbookers!  You can check out all the different kits at Globecraft Memories which allow you to literally create your own framed art.  The easel on the back gives you the option to display the finished piece on a desk or hang on a wall and the dome adds a unique glass effect.  Can you imagine all the possibilities and gift ideas?!

I used a blank kit and decorated all the frame rings with stamping and changed the "stacking" order by placing the smallest ring in the middle.  Betsy Bluebell is elevated under the globe on a small grass platform complete with a flower and ladybug.  

Tomorrow I will have another globe that celebrates the arrival of a new baby.

--Elizabeth

Supplies:
Copic Markers
Copic Atyou Spica Pen in Melon (#05)
Tsukineko:  Tuxedo Black Memento, Bamboo Leaves Memento, Cantaloupe Memento, Tangelo Memento, Onyx Black VersaFine, Persimmon VersaMagic, Tea Leaves VersaMagic Thatched Straw VersaMagic
Tsukineko (other):  Jumbo Sponge Daubers, Clear Embossing Powder, Memento Markers in Tuxedo Black, New Sprout and Cantaloupe
Tombow:  Permanent Adhesive
3M Scotch: Dimensional Foam Tape
Sakura:  White Gelly Roll Pen, Black Glaze Pen
Tool:  1” Circle Punch
Other:  3/8” White Ribbon (Colored with Copics)

February 14, 2011

XO

A little something I made for my husband....


The 3-inch letters were made from stencils I found at my local hardware store.  Each letter was stamped with a paisley background and heat embossed with aged mahogany distress powder.  Hugs & Kisses was stamped on vellum and heat embossed with clear powder.  After assembling, I sprayed the whole card with Gold Sheer Shimmer Spritz.

Wishing everyone a Happy Valentine's Day,
Elizabeth (xoxo)

Supplies:
Penny Black:  40-048 Paisley Outline, 40-040 Pur-fect Message, 30-063 Mimi & Miles
Tsukineko:  Onyx Black VersaFine, Gold Sheer Shimmer Spritz
Ranger:  Antique Linen Distress Ink, Vintage Photo Distress Ink, Aged Mahogany Distress Powder

February 11, 2011

To You

Hello Everyone. 

I would like to share one of the cards that I taught at the recent CHA convention in Los Angeles using the new stamps and cardstocks from Penny Black's Charm of Spring 2011.

Along with fellow design team member
 
Kathy Racoosin, we taught four different make-n-takes.   Each cardmaking session was a ½-hour which gave retailers plenty of time to work with all the new stamps, learn fun techniques and to chat with us! 


This card features masking, background overstamping and using markers as the ink source for the stamped impression. 


Here you can see how beautiful and delicate the
Paisley Outline stamp is.


Below is a short summary of the steps used to create the card.  You can also view a short video that was shot LIVE from CHA which is linked here at Penny Black.  (I am not used to having more than my hands visible in a video :0)

Instructions:
  • Using Judi-Kins Eclipse Tape, mask off 3/8” on each side of a 3 3/8 x 4 3/8-inch piece of white cardstock.
  • Rub Thatched Straw VersaMagic ink in the exposed “window” area.
  • Stamp Paisley Outline over the ink in Brilliance Galaxy Gold.
  • Remove the masks from the top and sides leaving the bottom strip in place.
  • Apply ink from the markers directly to the flower stamp, mist lightly with water and stamp over the inked background.
  • Remove bottom mask strip.
  • Attach sentiment with dimensional foam and layer with colored cardstocks.
  • Accent small flowers with USArtQuest Interference Blue Watercolor and add Stickles as desired.

Thank you all for your visits and kind comments!!

Elizabeth


Supplies:
Penny Black Stamps:  Flower Amongst Flowers, 40-048 Paisley Outline, 30-037 To You
Penny Black Mix & Match Cardstock:  13-003, 14-003
Tsukineko:  Black VersaFine, Brilliance Galaxy Gold, Thatched Straw VersaMagic, Gold Metallic StazOn, Daubers
Tombow:  Markers - 177, 553, 665, 985; Mono Permanent Adhesive
Ranger:  Tropical Tangerine and Waterfall Stickles; Mini Misters
USArtQuest: Blue Interference Watercolor from the Jewelz Duo & Interference Watercolor Palette
Judi-Kins:  Eclipse Tape
3M Scotch:  Foam Mounting Tape 

February 9, 2011

A "Sticky" Giveaway

Today’s spotlight is for "unseen" heros – adhesives!

Sometimes I feel bad for these little workhorses that do so much to hold our projects together and elevate our artwork to new levels - all without being seen.

To pay tribute, I thought it would be fun to have a giveaway and share a few of my favorite “sticky” products with you. 


I truly use these in my art projects and have not received an endorsement for this giveaway.


Reasons I like these items:

·    The 3M Scotch dimensional foam tape roll allows me to cut specific lengths, sizes and shapes and the thickness (1/16th) is just enough to pop up elements without looking too exaggerated.

·    This new tape runner by Tombow has two dispensers built into one cartridge.  Tape can be dispensed in a continuous line or in tiny squares by simply tipping the dispenser on its end.  No unwanted waste with a great bond.

·    I love products that have multiple uses like Glossy Accents.  Besides being a terrific accent it is amazing as a glue.  I find it holds glitter, beads and layered paper embellishments wonderfully.

If you would like a chance to win this group of adhesives, simply leave a comment on this post and check back on March 2 for the announcement of the winner.  

Edited:  Please submit your entry to win by 5 pm (EST) Tuesday, March 1, 2011.  Thank you.  

Smiles,
Elizabeth  


February 7, 2011

Le Cafe Box

I have some exciting news to share.... 
Penny Black has just released their new spring catalog! 

In addition to their fabulous new stamps, they have also launched their own line of cardstock called "Mix & Match".  The colors are so vibrant and rich and the tritone hues make it effortless to create perfect color combinations.
  
All this and more is in the new Charm of Spring 2011.


In the new catalog you will find this transparent set called "Mimi in Paris".  For this project, I sandwiched a small box (template here) between two scallop rectangle Nestabilities.  I added an extra hat and scarf to Mimi to built up the image then attached her and her cute puppy to the front of the box with dimensional foam.


Here is a closer view so you can see how fluffy the liquid applique became after applying heat.


This side view of the box shows the ornate design of the Delicate Pattern stamp.  This stamp measures 4 1/2 x 5 3/4.  I love the large size - you can cover the front of a card with one impression.

Penny Black also has a new "shop on line" feature.  Just look for the little red shopping cart at the top of the home page.

During your visit be sure to sign up to be a club member to get the first peek at new releases and project ideas!

Thank you for stopping by and visiting!

Elizabeth

Supplies:
Penny Black: Stamps 30-071 Mimi in Paris, 40-407 Delicate Pattern
                     Cardstock Summer Sun Tritone Collection #17-002
Tsukineko: Onyx Black VersaFine, Cantaloupe Memento, Summer Sky Memento, Clear Embossing Powder, Sponge Dauber
Spellbinders: Scallop Rectangle Nestabilities
3M Scotch: Dimensional Foam Tape
Ranger:  Glossy Accents (used as an adhesive)
Copic Markers
Marvy Uchida: White Liquid Applique

February 4, 2011

Big Bunch of Love

Today's shaped card combines Penny Black's Love Antennae with the Mimi and Miles transparent set.


I must admit that there was a little "labor of love" involved in repetitively stamping the hearts and sentiment, but I really enjoyed the process and seeing the white space slowly filled with text and hearts.  I used the tiny heart above Mimi's head in the Mimi and Miles set to individually stamp each heart and inked just the "love" portion of the Big Bunches of Love for the circular phrase.


Here you can see whole sentiment when the outer ring of the card is opened.  I added little dots around the scallops to match the polka dots on Mimi's dress and wings and colored florist wire with a black Sharpie to create bendable heart antennae.

I hope your day is filled with a big bunch of love.....

Elizabeth


Supplies:
Penny BlackLove Antennae, Mimi and Miles
Tsukineko:  Tuxedo Black Memento Ink
Copic Markers
Spellbinders Nestabilities:  Scallop Circles, Standard Circles
Ranger:  Star Dust (Mimi's Wings), X-Mas Red (Hearts) Stickles
3M Scotch:  Dimensional Foam Tape
Tombow:  Permanent Adhesive
Sakura:  .01 Black Micron Pen, Black Glaze Pen (Polka Dots on Mimi's dress)

February 1, 2011

Bon Voyage!

My girlfriend's birthday is on Valentine's Day and this year she will be spending her special day in Paris.  Ooo La La!

Since she will be departing before the 14th, I decided to combine her birthday with a Bon Voyage card and send it to her early.


The airplane with the heart banner was the perfect combination for both occasions.


So many fun details in this stamp - especially the goggles!
The greeting and concentric circles are from the Penny Black acrylic set called "Sentiments" and the "Hedgehopper" is from the 2011 Amour Collection. 

Copic markers were used for coloring and Persimmon and Wheat VersaMagic inks were used for stamping the dot circles. 

I stamped an Eiffel Tower inside and will add a little birthday message before I mail the card.

Enjoy the day,
Elizabeth