
This week the Penny Black designers are sharing techniques and I am hosting their blog today with this “faux leather” design.

The “leather” is a piece of tan craft foam that was heated until it was very soft and pliable. Directly after heating, a pre-inked Forest Friends in Jet Black StazOn was stamped on the surface. Firm pressure for several seconds creates not only the impression, but also an embossed, etched effect in the foam.
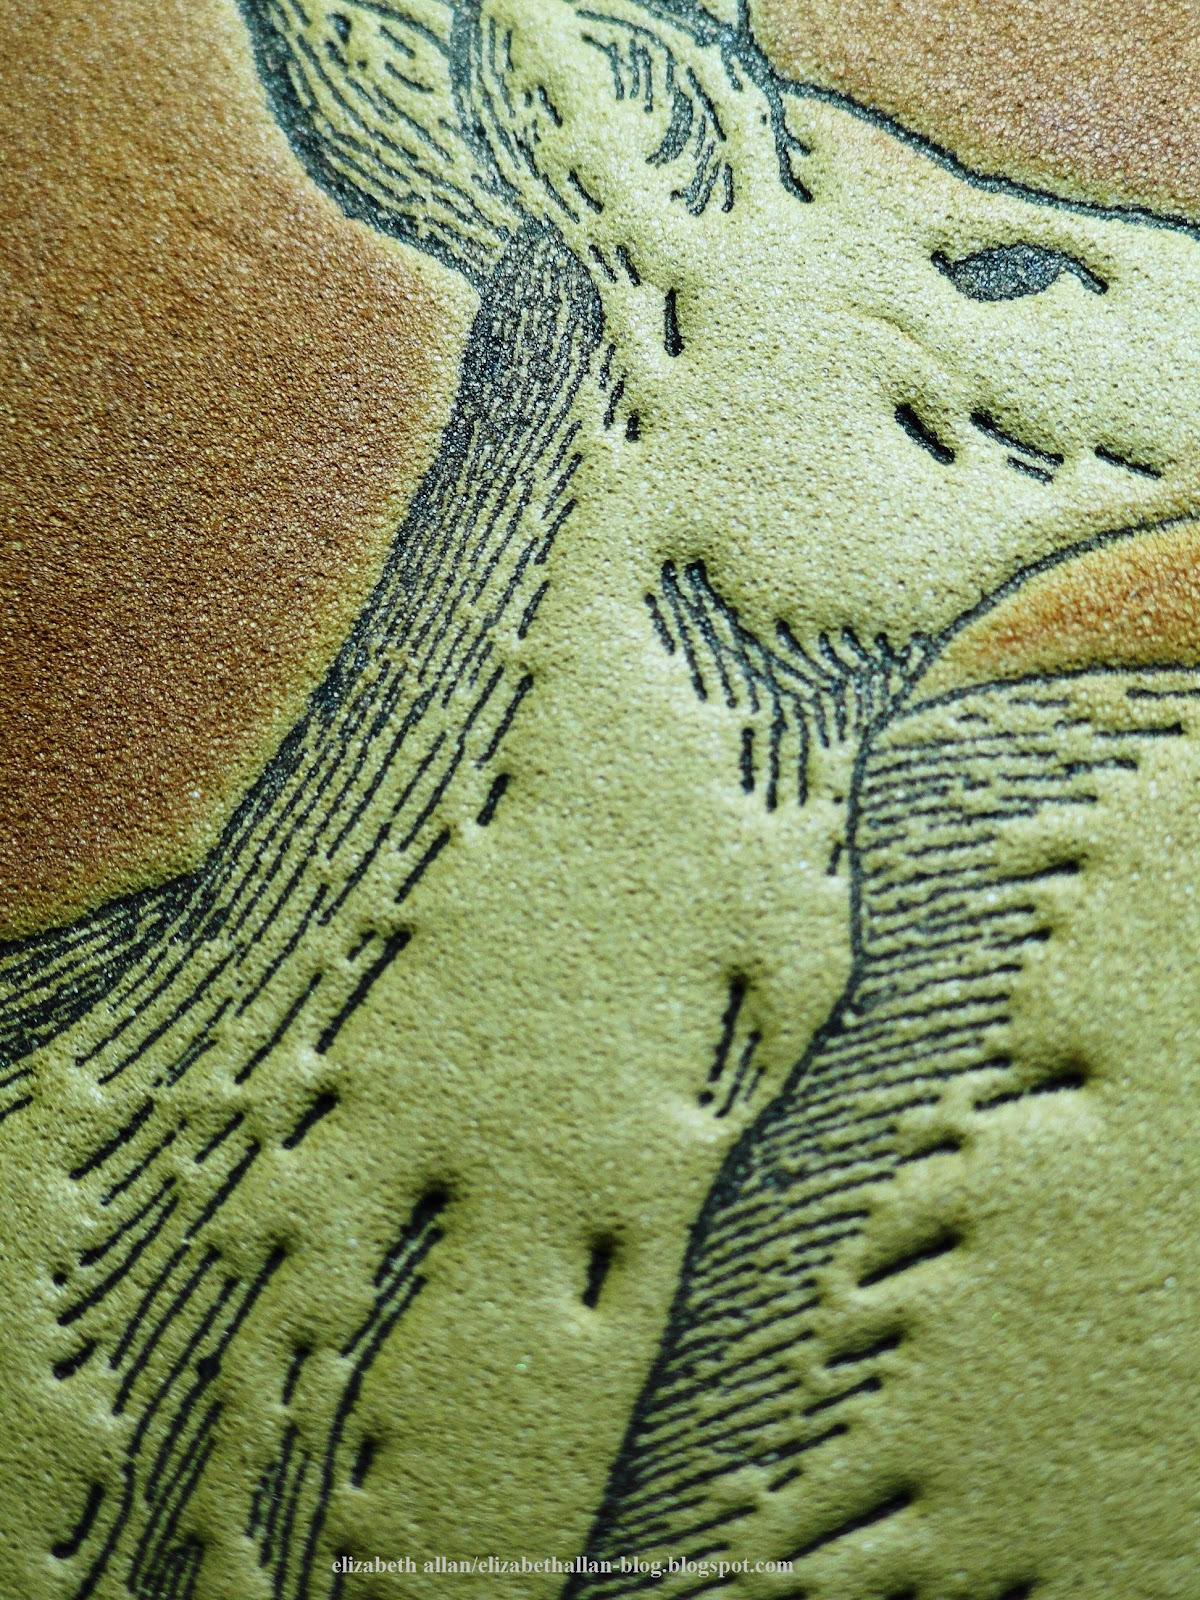
After the impression was made, a combination of Vintage Sepia and Gingerbread VersaMagic inks were applied with daubers around the deer.

For a stylized design, the “leather” was wrapped around a heavy piece of cardstock and the edges were secured by using a hot glue gun. After completion, the entire piece was attached to the front of the card with Tombow Power Adhesive Tabs.
A tan tent card burnished with Vintage Sepia ink was sprayed with Gold Sheer Shimmer Spritz. The thin decorative band is white cardstock stamped with Winter Sky in black ink and heat embossed with clear powder. The green tone is a pouncing of Spanish Moss ink.

The decorative band was attached with pewter brads to a piece of dark brown cardstock stamped with Retro Pattern in Vintage Sepia ink.
The “happy birthday” sentiment stamped on white cardstock with black ink and heat embossed with clear powder was aged and distressed with Spanish Moss and Vintage Sepia inks. A black glaze pen was used to simulate brads and a small piece of dimensional foam under the center of the banner adds dimension.
This is also a fun technique to use with white fun foam and snowflake stamps!
Thank you for sharing your time with me.
Elizabeth
Supplies:
Penny Black Stamps: Forest Friends 40-077, Retro Pattern 40-086, Winter Sky 4204L, Sentiments 30-025
Penny Black Mix & Match Cardstock: Sticks & Stones 02-002 & 02-003
Making Memories: Pewter Brads
Tombow: Power Adhesive Tabs
Tsukineko: Onyx Black VersaFine, Vintage Sepia VersaFine, Spanish Moss VersaFine, Gingerbread VersaMagic, Gold Sheer Shimmer Spritz, Sponge Daubers
Tsukineko: Onyx Black VersaFine, Vintage Sepia VersaFine, Spanish Moss VersaFine, Gingerbread VersaMagic, Gold Sheer Shimmer Spritz, Sponge Daubers