A little something to melt away the snow (in northern Michigan) and encourage summer to head on in...
This was a project I made while on the 2012 AIR Imagine Crafts/Tsukineko Design Team.
Instructions
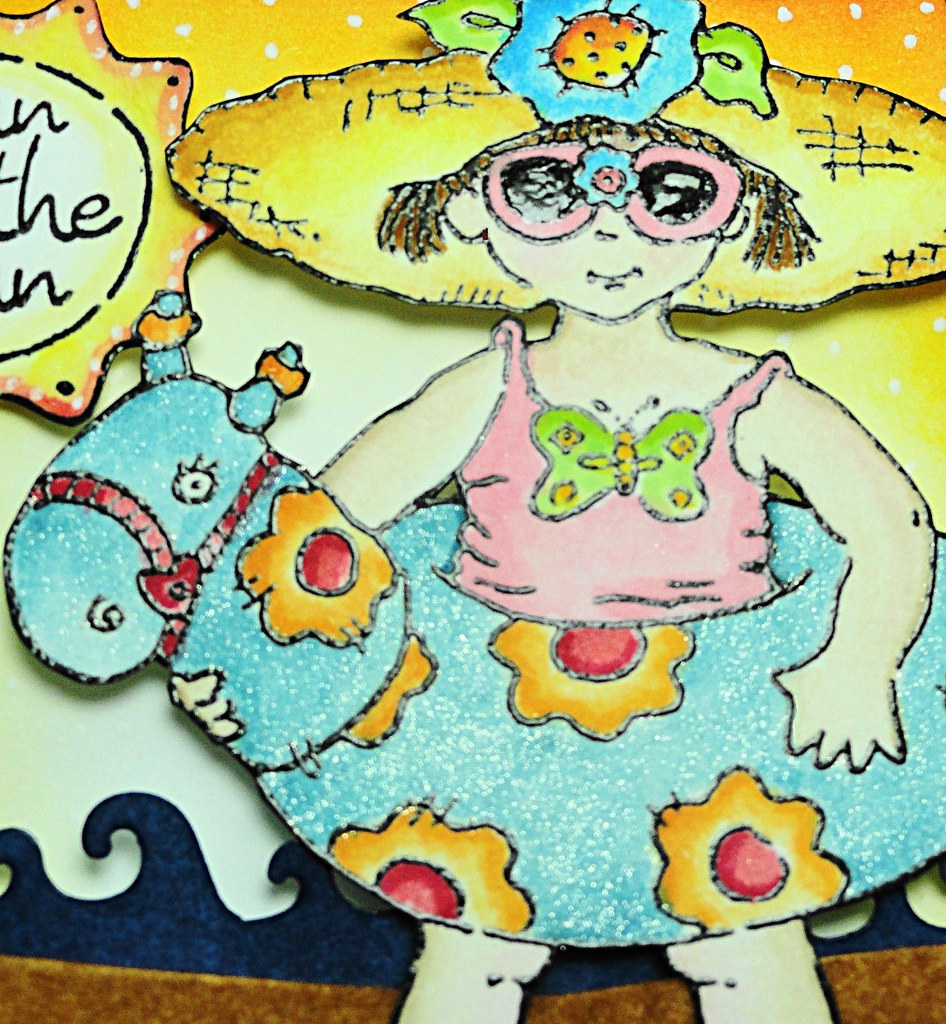
- Stamp
girl, sun and beach pail on watercolor paper with Onyx Black VersaFine and heat
emboss with clear powder. Watercolor the
images by applying ink from Memento markers to a plastic (non-porous) surface
and then transfer the ink with a paintbrush.
Trim the images and edge the cut sides with a Tuxedo Black Memento
marker. Set aside.
- Tip/Hint:
Using Ink Potion No. 9 for the water source to clean and dampen the
paintbrush helps encourage migration of water-based inks and resists paper
curling when dried.
- Tip/Hint:
For a glimmer effect, pour a small amount of Sparkle Sheer Shimmer
Spritz on a non-porous surface and use as paint. This was the final application applied to the
inner tube.
- Tip/Hint:
For a glass effect, small amounts of GooseBumps were applied with a
toothpick to the sunglasses.
- Die
cut 3 large Labels Two from white cardstock.
Score one die cut ¾” from the top and set aside.
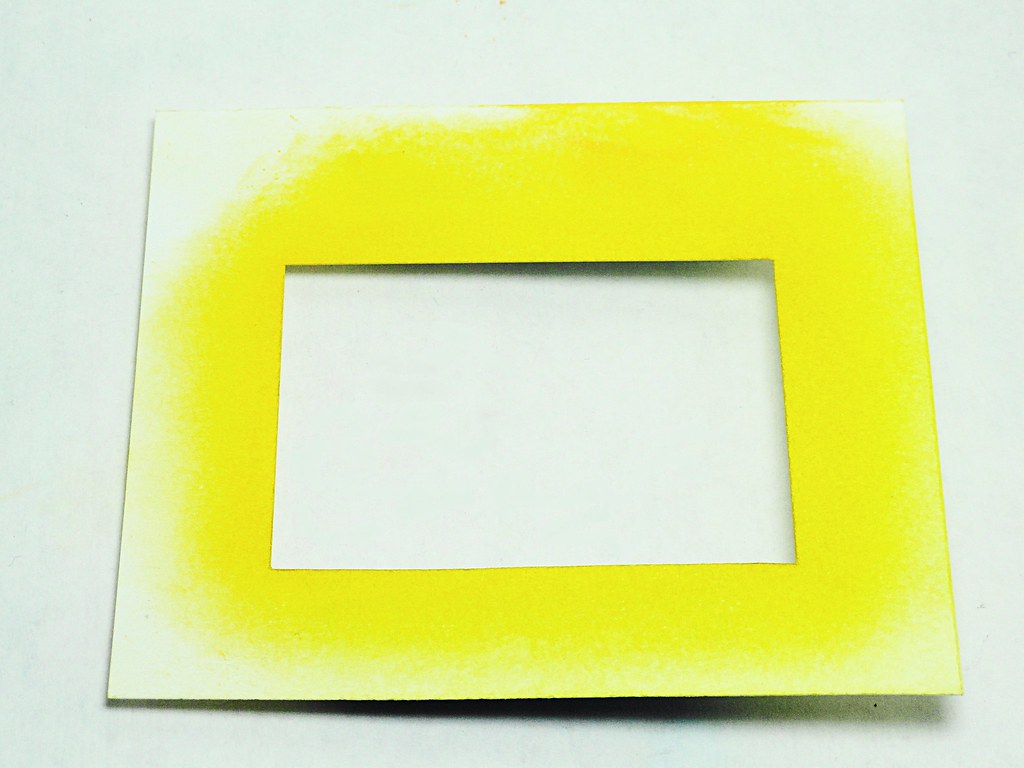
- On
the second die cut, apply Dandelion, Cantaloupe and Tangelo inks using
InkBlushers. Accent the inked area with
dots from a white gel pen. Set aside.
- Trim
off 1 ¼” from the third die cut and
lightly apply Peanut Brittle Memento ink with an InkBlusher to cover the
surface. Apply a thin coat of Duo
Embellishing Adhesive and let dry to form a tacky surface. Sprinkle with crushed velvet flock. Cut a small slit in the “sand” and insert the
beach pail and secure with tape on the reverse side. Set aside.
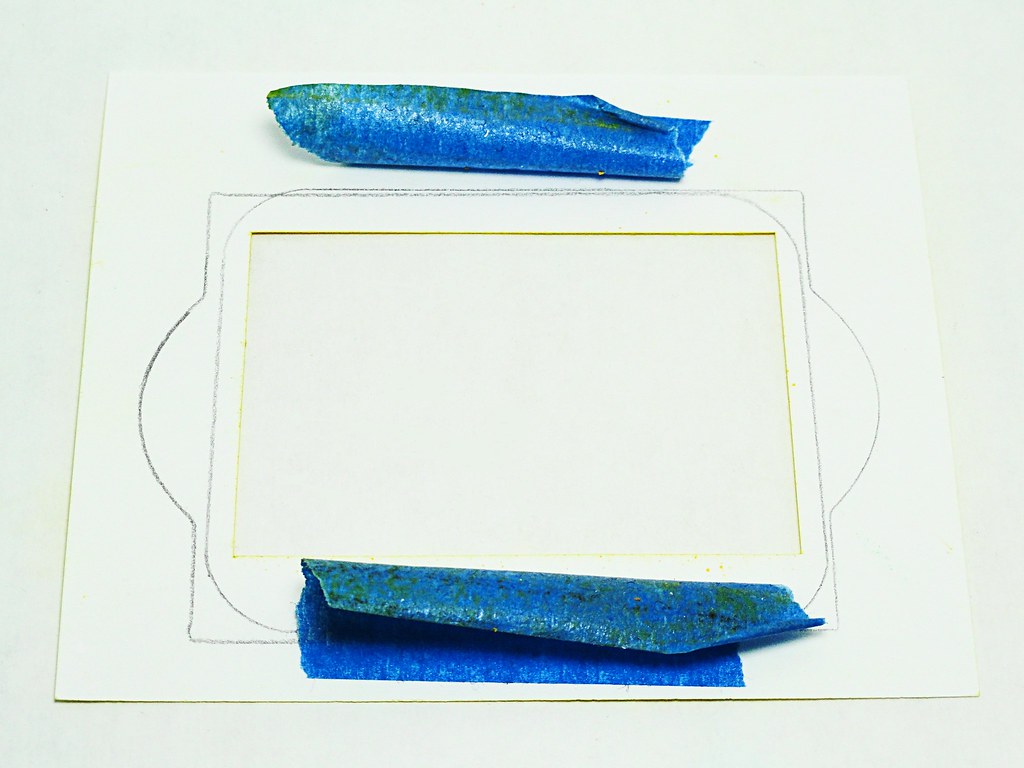
- Place
the same die used in the first step on Blue Lagoon cardstock and lightly trace
the perimeter. Trim with scissors and
remove 7/8” from the bottom. Stamp
bubbles in Nautical Blue Memento around the outside edge. Set aside.
- From
a separate piece of white cardstock punch a segment of Boundary Waters. Trim the wave so a portion will extend beyond
the “beach” element. Using an
InkBlusher, dab the surface with Nautical Blue Memento. Using the wand from the GooseBumps spray
bottle as an applicator, coat the waves then set aside to dry.
- Apply
double-sided adhesive to the scored tab of the white die-cut card base and
adhere it to the back of the Blue Lagoon die cut. The Blue Lagoon piece is larger and will
slightly overhang the base.
- Attach
the yellow highlighted cardstock to the front of the Blue Lagoon cardstock with
dimensional foam.
- Attach
the waves with dimensional foam as well as the “sandy beach”.
- Using
different thicknesses of dimensional foam, attach the sun and girl to the front
of the prepared card.
Fun Penny Black news to share.....
Iwona Palamountain is a guest designer for Penny Black this week. Check out her fabulous work HERE!
Hoping warm sunbeams fill your day!
Elizabeth
For questions and/or comments, please feel free to e-mail me at: elizabeth.a.allan@gmail.com
Supplies:
Imagine
Crafts/Tsukineko
Inks: Onyx
Black VersaFine, Dandelion Memento, Cantaloupe Memento, Tangelo Memento, Nautical
Blue Memento, Peanut Brittle Memento
Memento
Markers: Dandelion, Cantaloupe, Tangelo, Lady Bug, Rhubarb
Stalk, Love Letter, Rose Bud, Angel Pink, Bahama Blue, Teal Zeal, Summer Sky, Nautical Blue, Pear Tart, New
Sprout, Rich Cocoa, Peanut Brittle, Desert Sand, Toffee Crunch, Tuxedo Black
GooseBumps
Clear Texture Spray
Sparkle
Sheer Shimmer Spritz
Ink
Potion No. 9
InkBlushers
Clear
Embossing Powder
Stamps:
Papers/Cardstocks:
Storm
(01-001), Blue Lagoon (09-003) Mix & Match Papers by Penny Black, Inc.
120
lb. Watercolor Paper by Canson
Other:
Labels
Two Nestabilities (S4-162) by Spellbinders
Boundary
Waters Border Punch by Fiskars
Duo
Embellishing Adhesive by USArtQuest, Inc.
Brown
Crushed Velvet Flock by Doodlebug Design, Inc.
White
Gel Pen by Sakura
Adhesives:
Dimensional Foam & Double-Sided Tape
Scissors,
Pencil, Paintbrush, Plastic Palette, Heat Tool