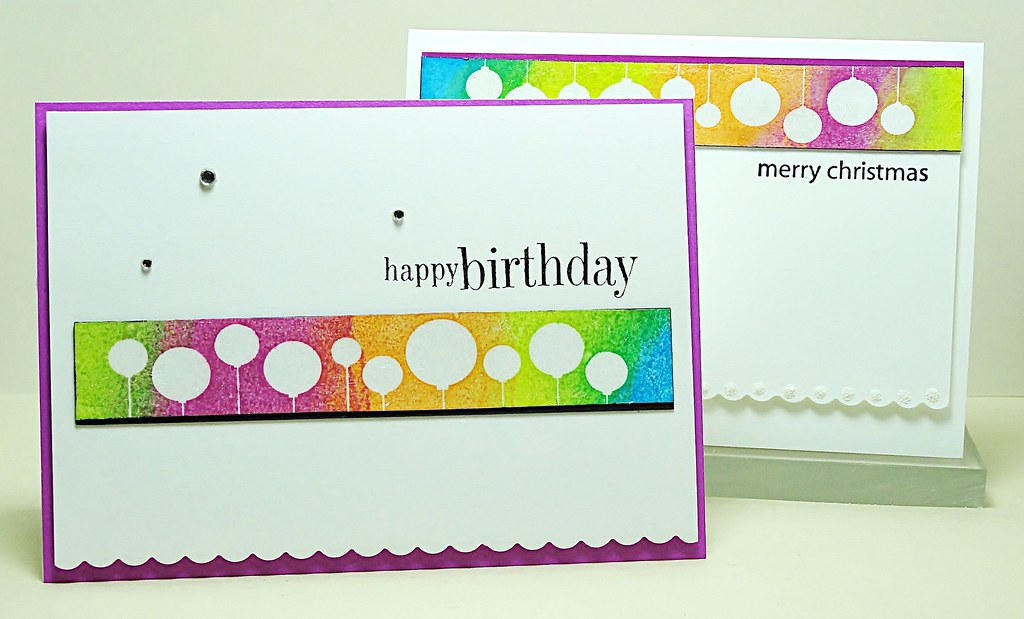
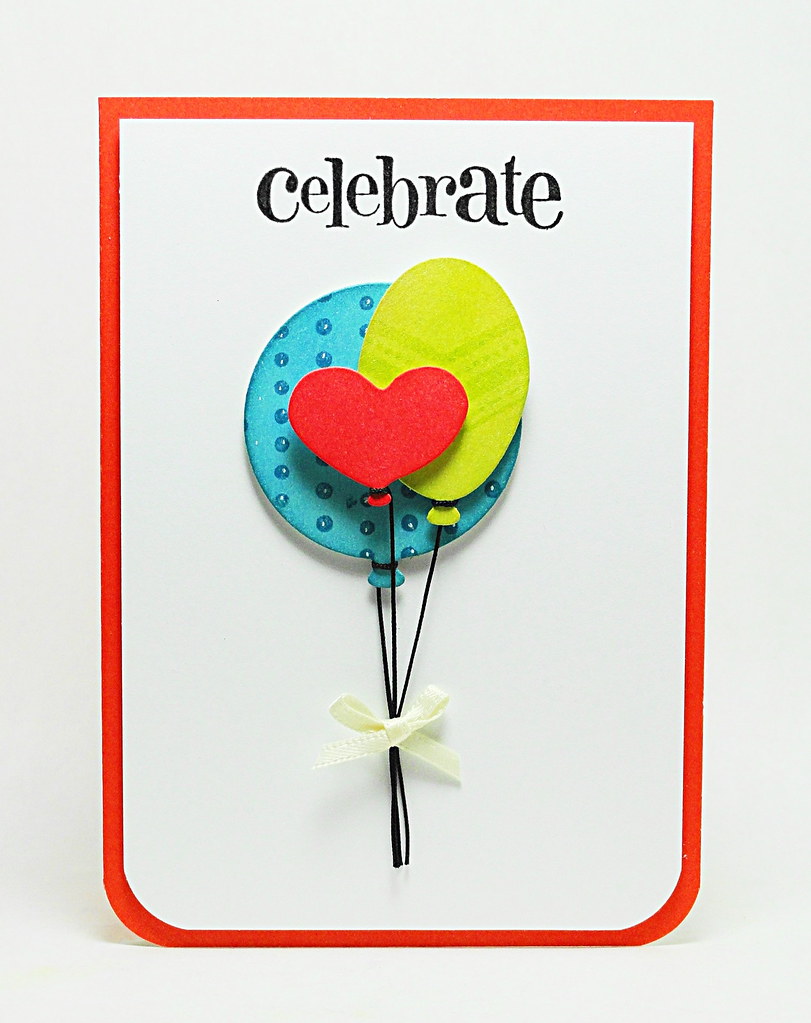
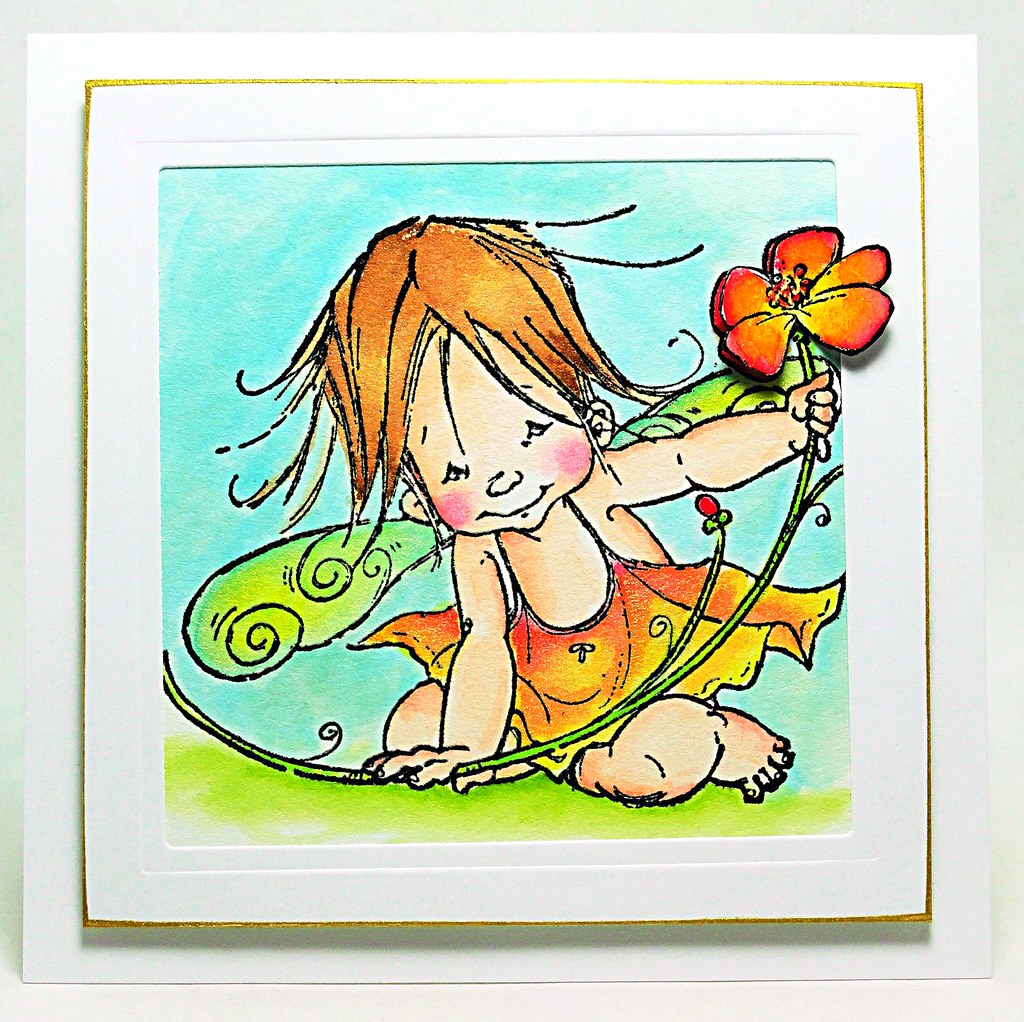
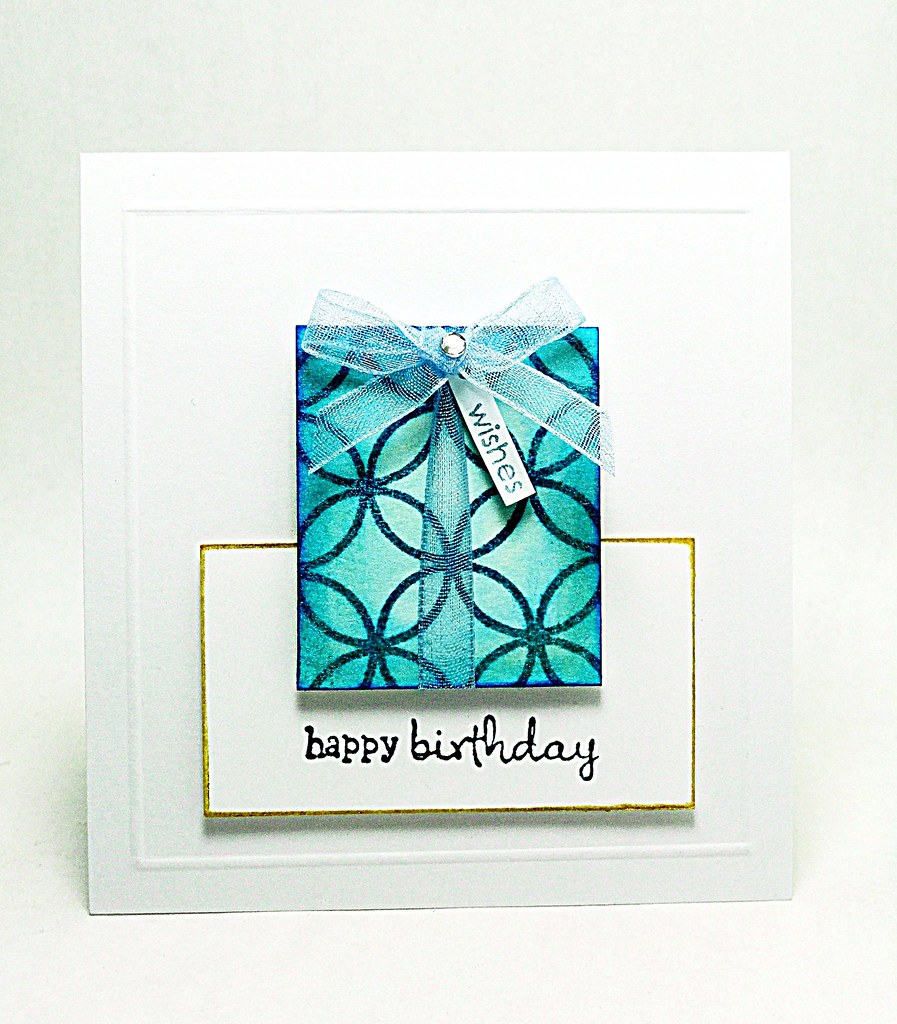
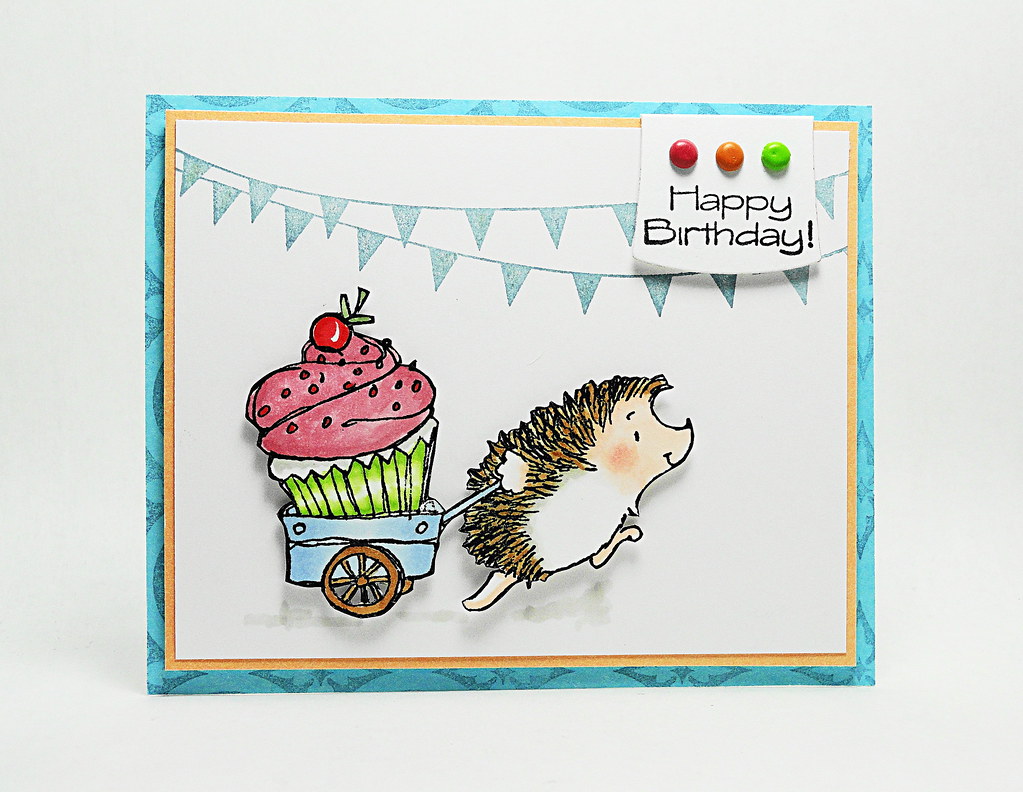
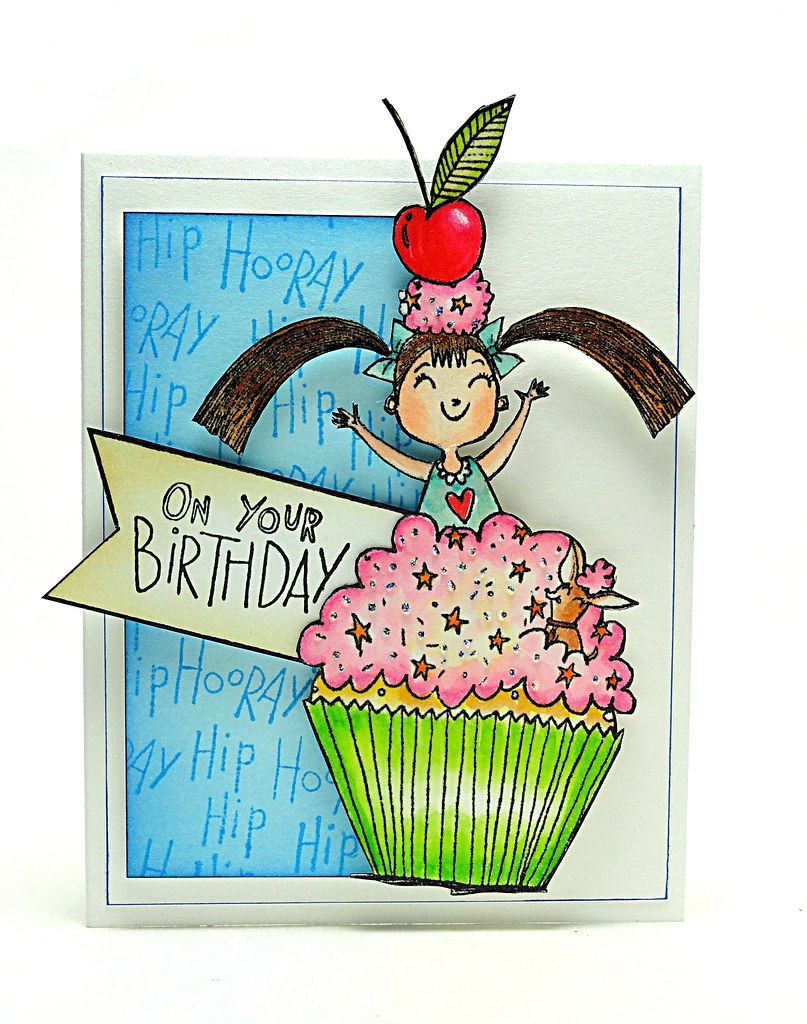
Sharing a card today that I designed for a product challenge for Imagine Crafts/Tsukineko (2012 AIR Design Team) using VersaMagic and Fireworks.
Instructions
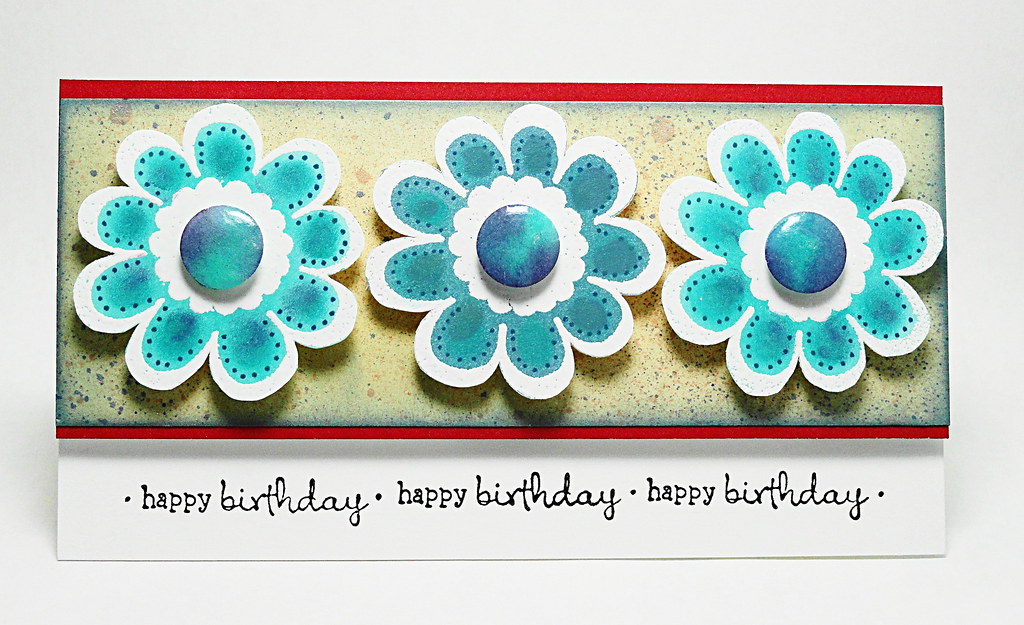
- Create
a 3 x 5 ½ inch white card with a top fold.
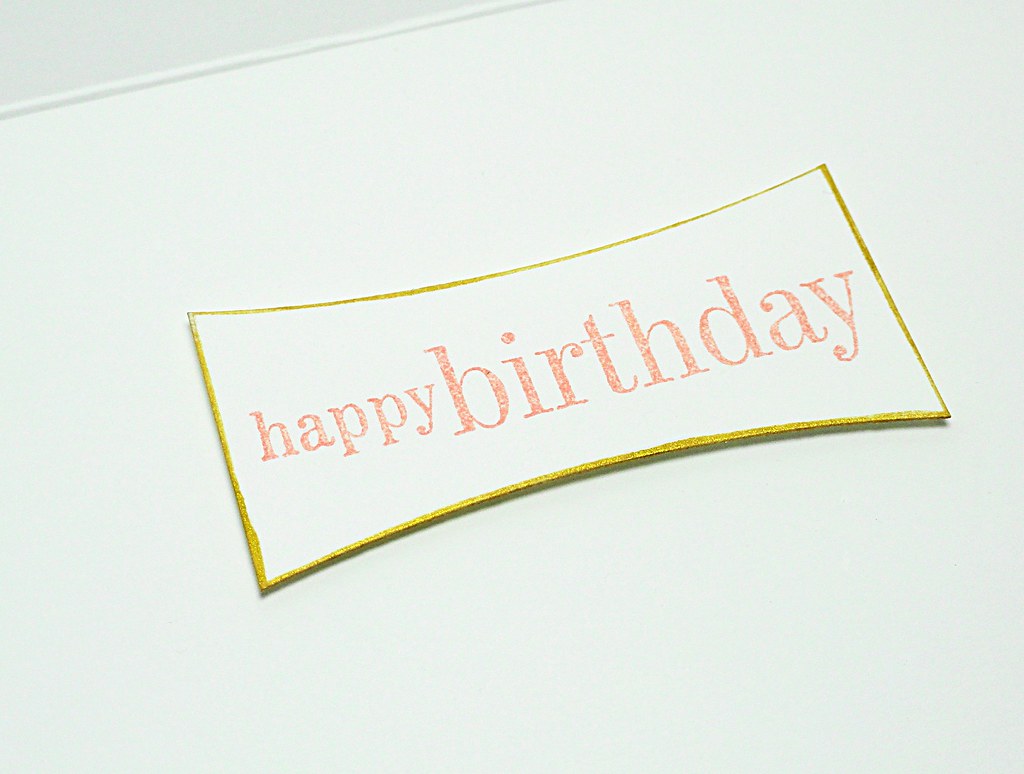
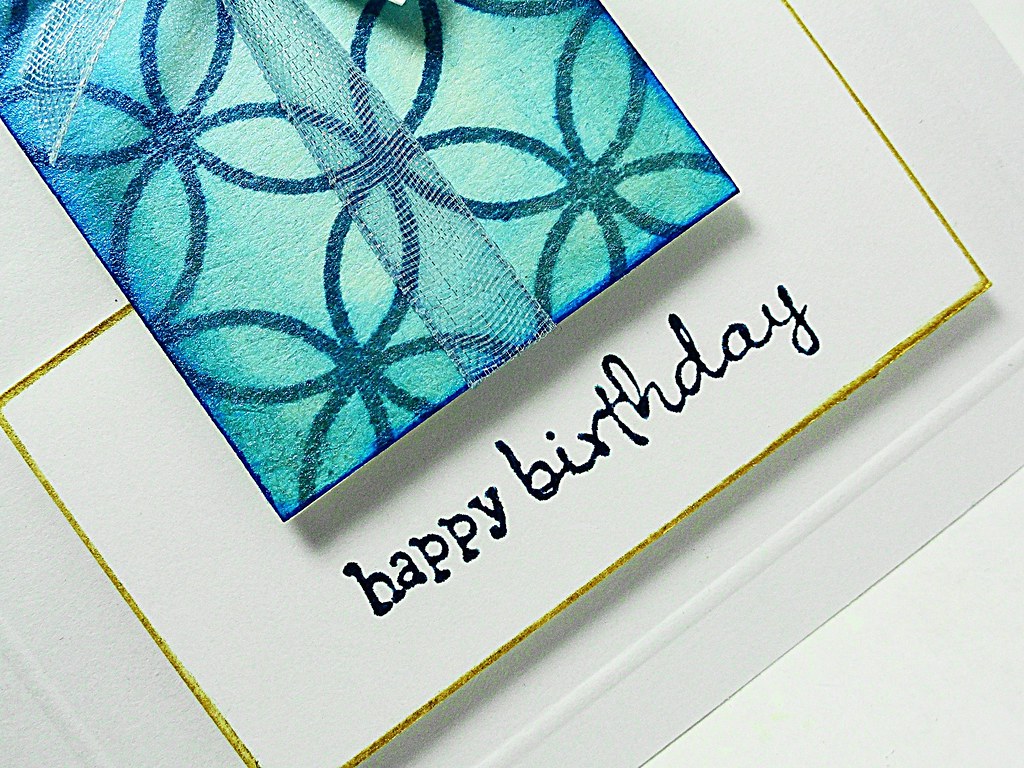
Stamp “happy birthday” three times across the bottom with Onyx Black
VersaFine. Re-ink the stamp after each
impression. Add small dots between the
sentiments with a Tuxedo Black marker.
Set aside.
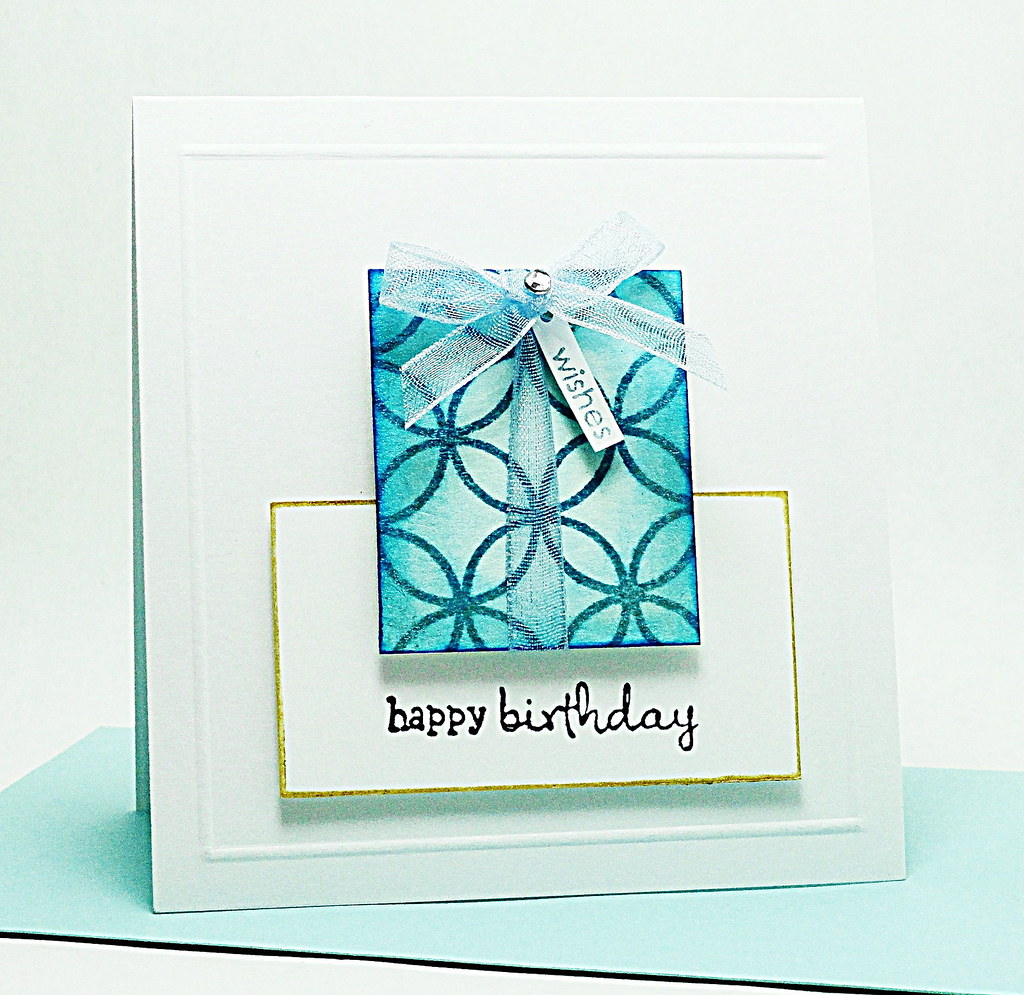
- Using
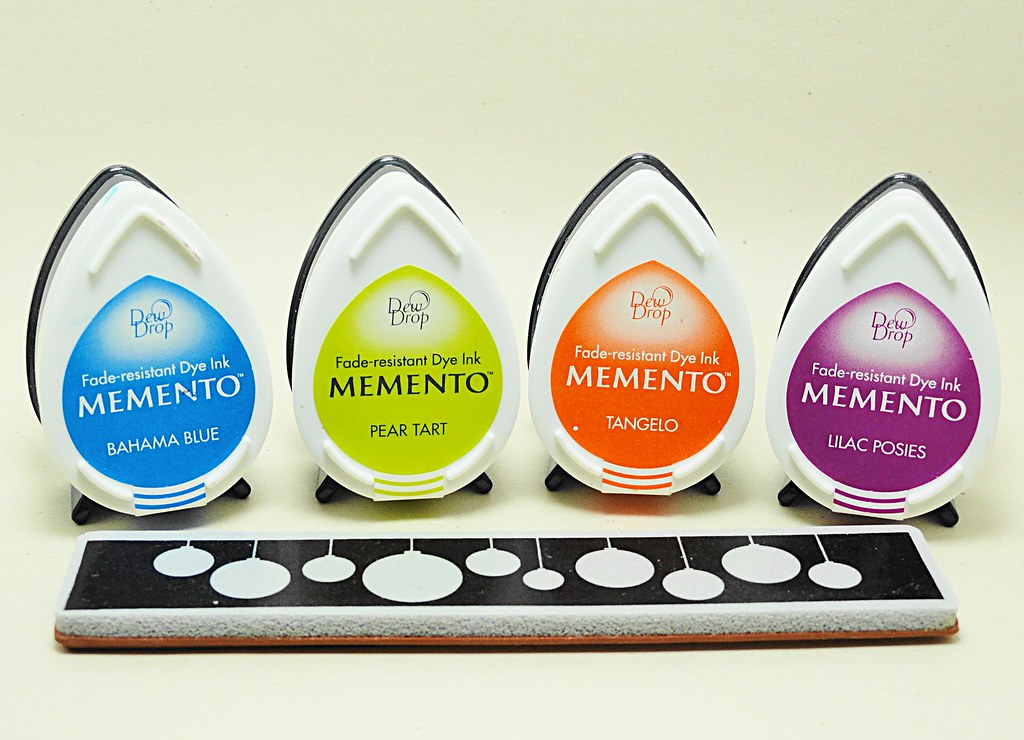
a Jumbo Sponge Dauber, rub Magnolia Bud VersaMagic ink over a 2 x 5 ½ inch
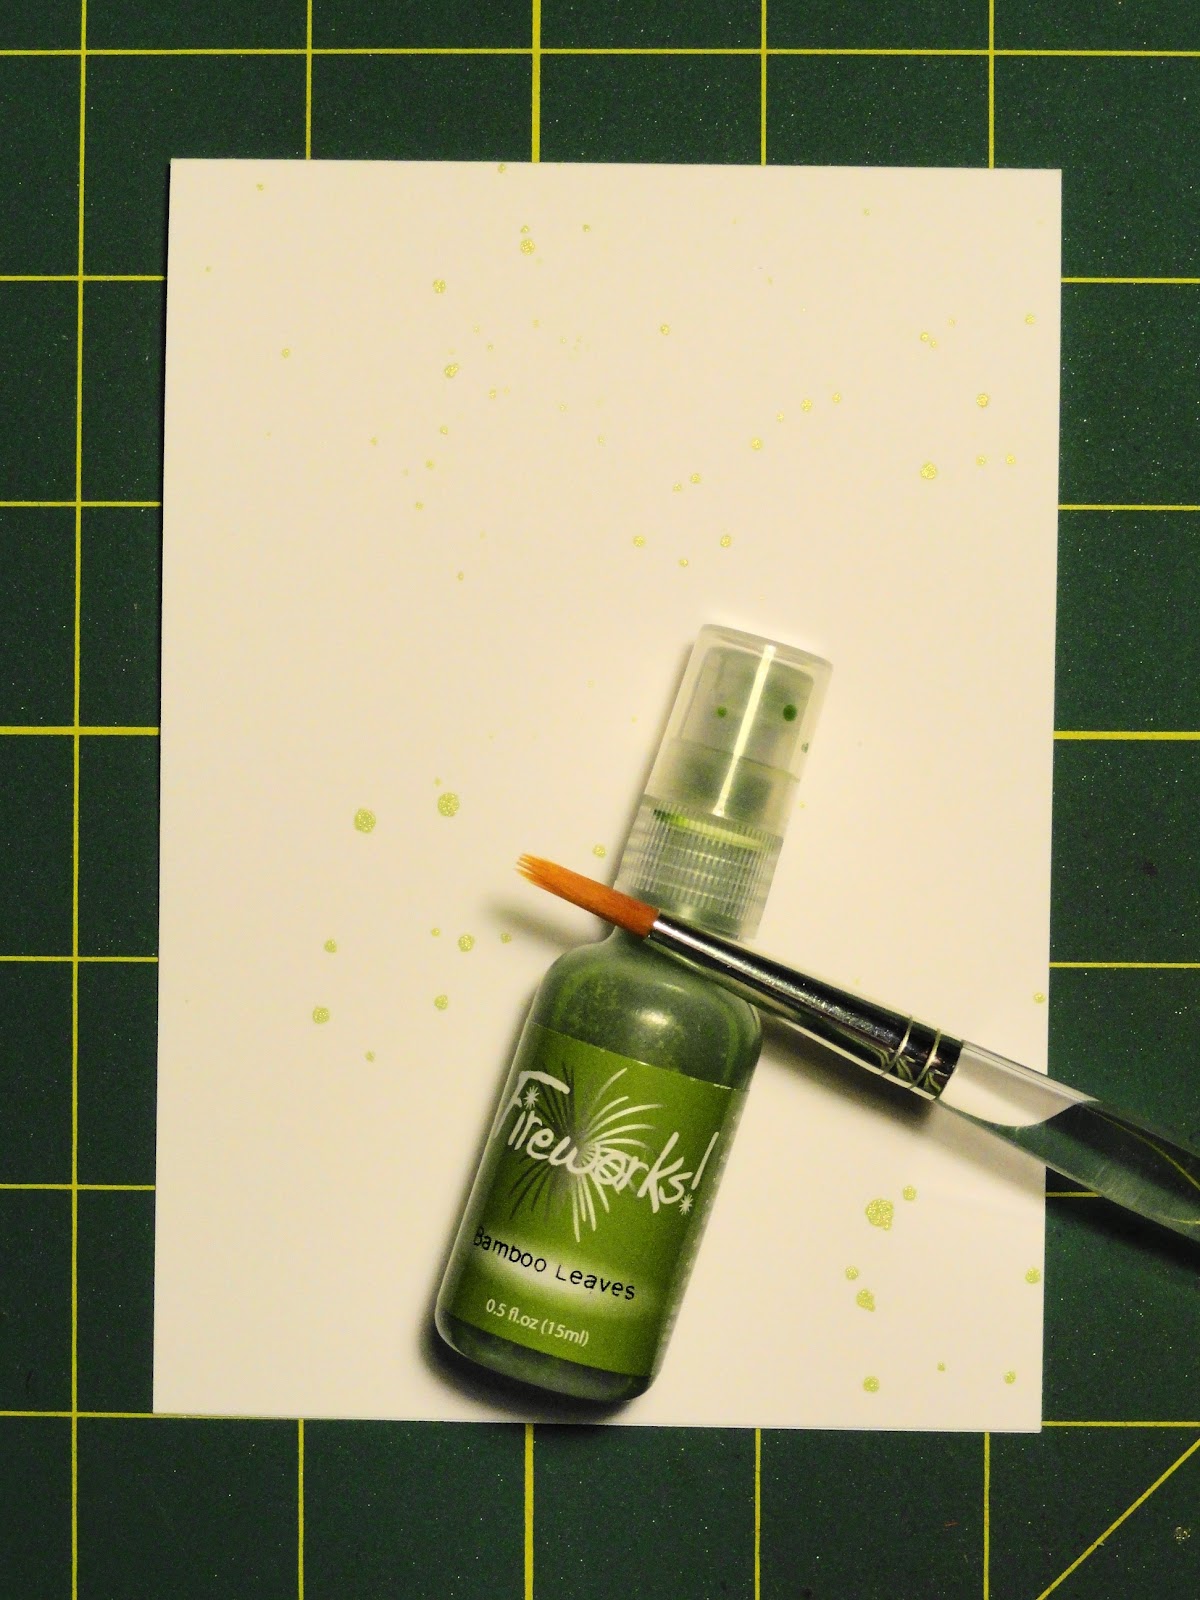
piece of white cardstock. Spray the
piece with Danube Blue and Potter’s Clay Fireworks.
- Lightly
ink the edges using a Jumbo Sponge Dauber and Aegean Blue VersaMagic. Mat with a 2 ¼ x 5 ½ inch piece of red
cardstock and attach to the front of the prepared card with dimensional foam.
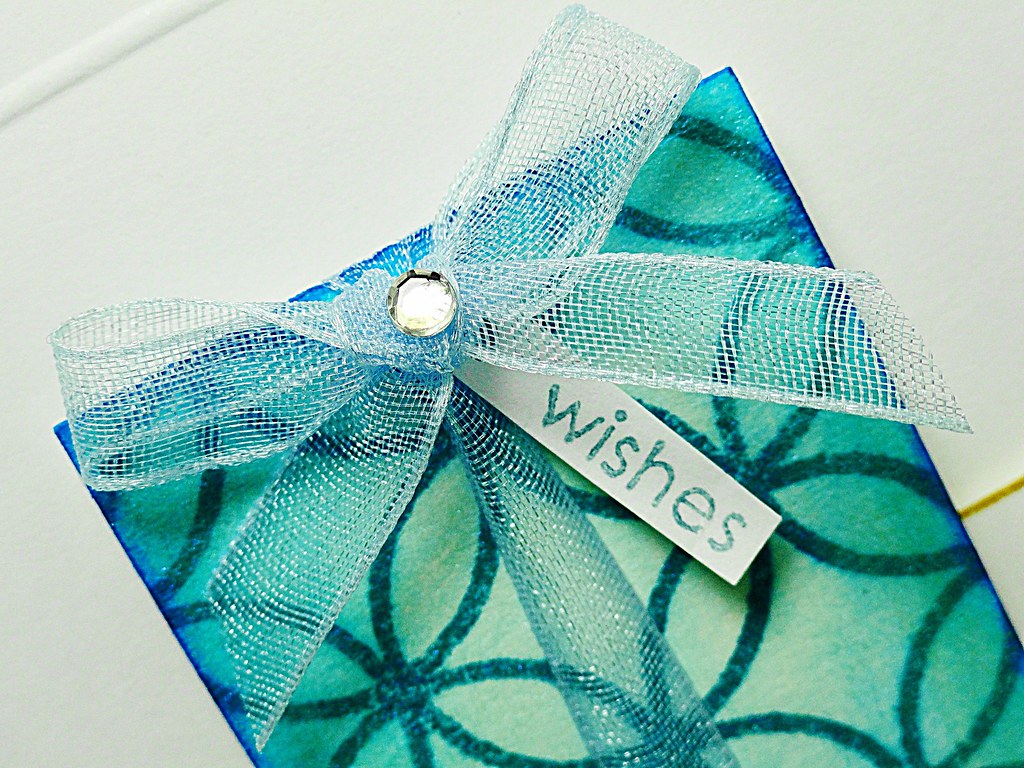
- On
a separate piece of white cardstock, create three circles of color with the
Jumbo Sponge Daubers and Aegean Blue and Turquoise Gem VersaMagic inks. Pat the colored areas with an anti-static
embossing pouch.
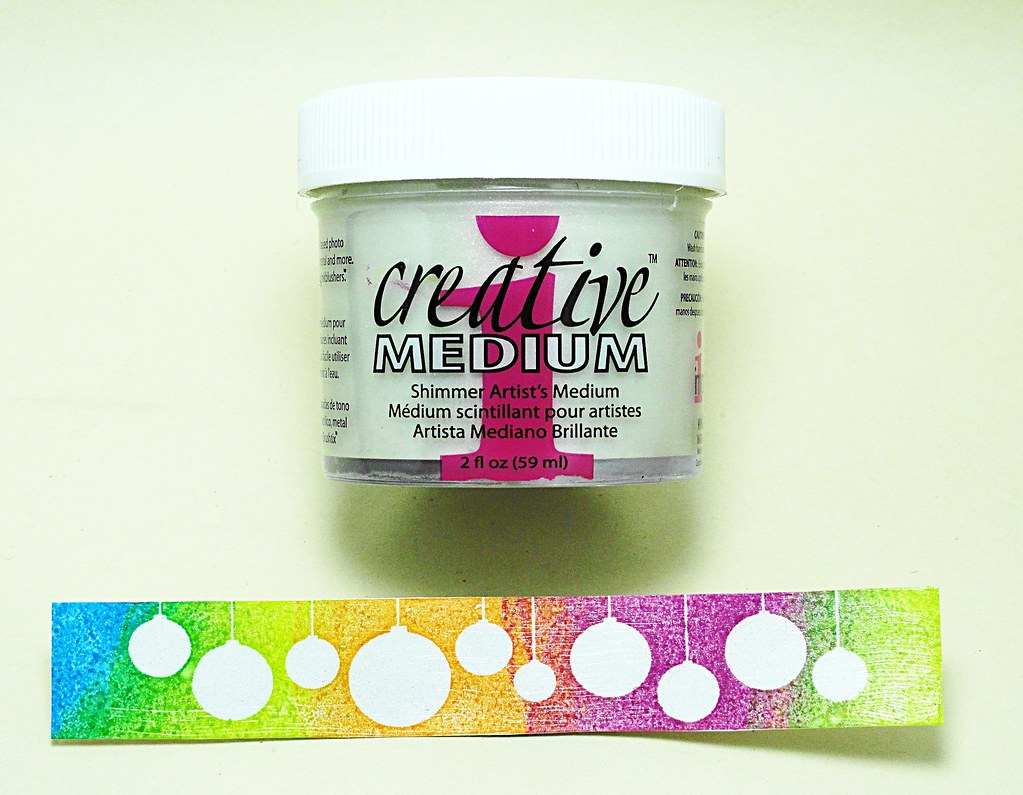
- Stamp
the flower three times over the spots of color with VersaMark Watermark ink.
Re-ink the stamp after each impression.
Sprinkle with white embossing powder, tap off excess powder and heat
set. Trim the flowers.
- Punch
three ½” circles from the leftover shaded pieces of cardstock.
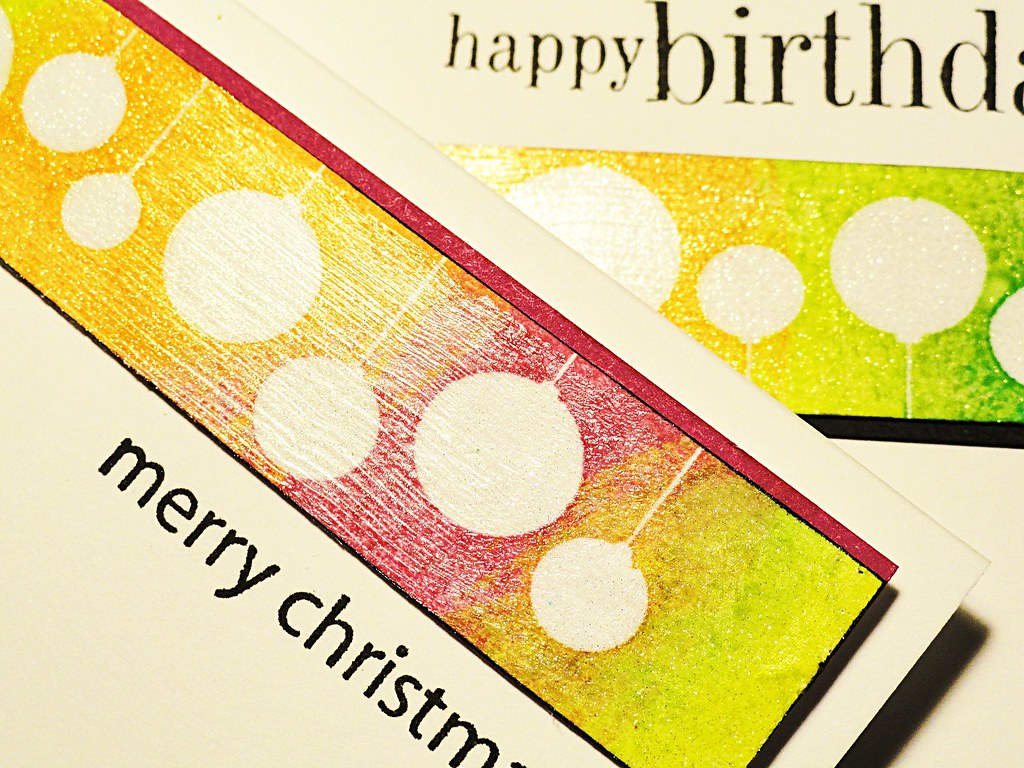
- Add
highlights to the flowers and circles with Brushstixs randomly alternating
between Turquoise Gem, Aegean Blue and Purple Hydrangea VersaMagic inks. Add decorative dots to the flower petals with
a Teal Zeal Memento marker.
- Attach
the circles to the centers of the flowers with dimensional foam.
- Unscrew
the cap from the GooseBumps bottle and, using the wand as an applicator, apply
a thin coat to the flower centers. Let
dry.
- Adhere
the flowers to the front of the prepared card with dimensional foam.
TIP/HINT:
Add a small pocket to the inside to create a space to tuck a gift of
money or a certificate for the recipient.
Design Variation: Without any alterations, this card can be
turned and presented with the fold on the left.
This is helpful if design elements added to the inside are vertical.
Enjoy,
Elizabeth
Supplies:
Penny
Black Mix & Match Cardstock: Storm
01-001, Rose Garden 14-003
Imagine
Crafts/Tsukineko: Turquoise Gem (VG-015),
Magnolia Bud VersaMagic (VG-032), Purple Hydrangea (VG-055), Aegean Blue
VersaMagic (VG-078), Onyx Black VersaFine (VF-082), VersaMark Watermark Ink
(VM-001), Memento Markers: Teal Zeal (PM-602), Tuxedo Black (PM-900), Danube
Blue Fireworks (FW-600), Potter’s Clay Fireworks (FW-801), GooseBumps Clear
Texture Spray (Original) (TS-000-001), Brushstix (BX-100-002), Jumbo Sponge
Daubers (ST-PKG-002), White Embossing Powder (EB-000-004)
Other: ½” Circle Punch, Double-sided Adhesive, Dimensional
Foam, Anti-static Embossing Pouch, Scissors, Heat Tool
For questions and/or comments, please feel free to e-mail me at: elizabeth.a.allan@gmail.com