
For
the 3rd day of my spring celebration, a happy bird takes flight in an interactive
card.
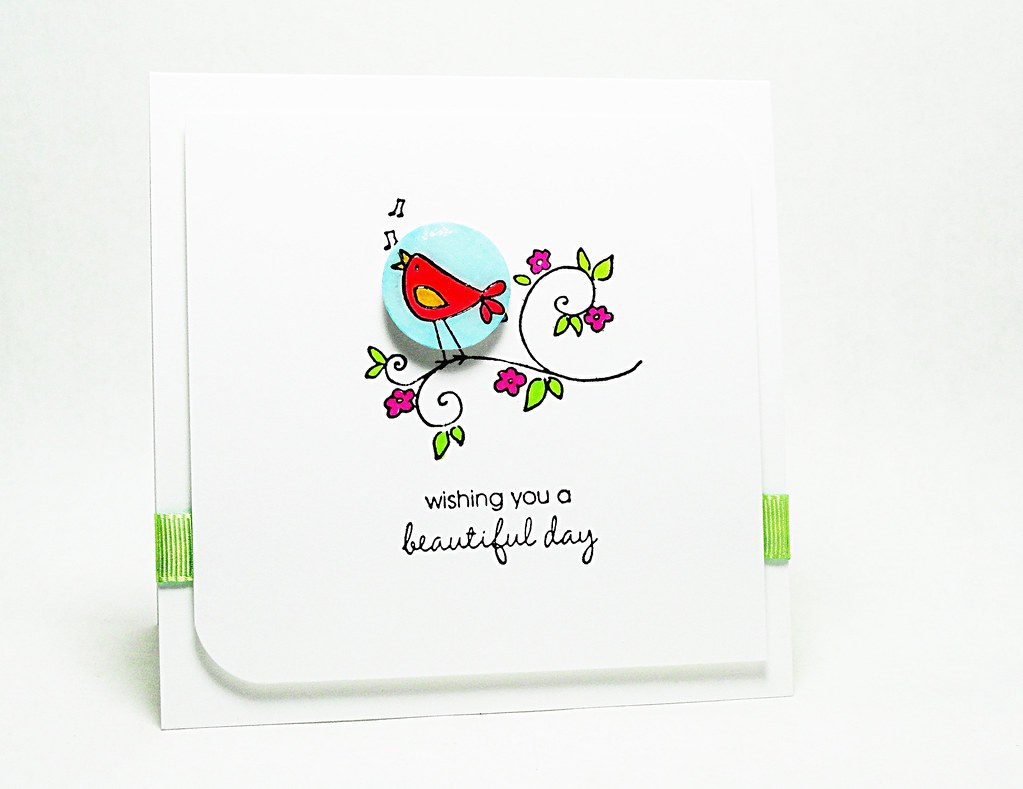
This
small element is a removable magnet!
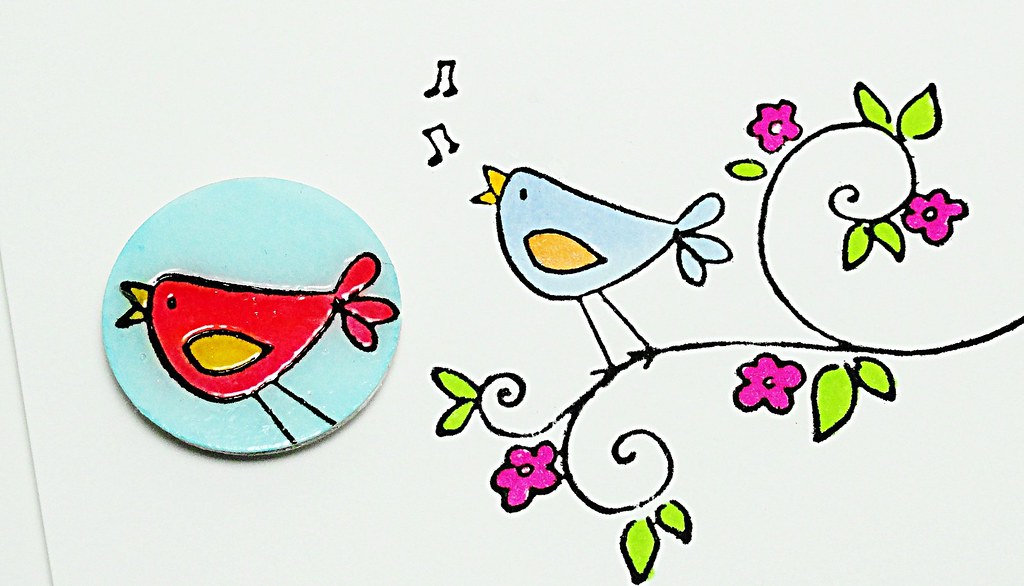
Here's a look at all the wonderful images in this new
Penny Black spring set called Nature's Wishes!

Make-It-Quick
Instructions
- Create a 3 ¾” square top-fold card from white cardstock and wrap a green ribbon around the front flap and secure the ends on the front. Set aside.
- On a 3 ¼” square of white cardstock, stamp the image and sentiment in Onyx Black VersaFine and then color. (Tip/Hint: Glue a small piece of metal behind the bird on the reverse side of the cardstock. This will hold the magnet in place.) Round the top right and bottom left corners. Attach to the front of the prepared card with dimensional foam.
- Stamp the image a second time on white cardstock. Use a circle punch to trim the image and then punch a second circle from cardboard. Color the image and adhere it to the cardboard.
- Attach a magnet to the back and apply a coat of gloss varnish to the front. Let dry. Place the magnet on the card overlapping the corresponding image.
I'll be "hoppin" by tomorrow with another spring card for Day 4.
Elizabeth
Supplies:
Penny
Black Stamps: Nature’s Wishes 30-109
Penny
Black Mix & Match Cardstock: Storm 01-001
3M
Scotch: Dimensional Foam Tape
American
Crafts: Ribbon
Copic
Markers
Imagine
Crafts/Tsukineko: Onyx Black VersaFine, Clear Embossing Powder
Other:
Liquitex Gloss Varnish, Corner Rounder, Circle Punch, Magnet, Cardboard
For questions and/or comments, please feel free to e-mail me at: elizabeth.a.allan@gmail.com
For questions and/or comments, please feel free to e-mail me at: elizabeth.a.allan@gmail.com


