This card has a fun and quick way to make your own "shadow" stamps.
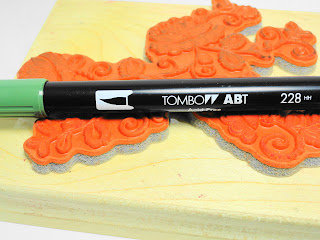
To create a background stamp, cut a piece of Fun Foam to the desired size and attach it to an acrylic block with Tombow Removable Adhesive.
Color the foam with a Dual Tip Brush Marker and slightly blend the ink with your finger tip leaving a bit of the foam uncolored in the center. “Huff” on the ink and stamp. To blend the image, lightly smooth the impression with a damp paintbrush.
Stamp the flower and sentiment with black dye ink. Color the flower with a combination of DTP (direct-to-paper) and Transfer methods.
For the background pattern, ink the image with Tombow Marker #228 and stamp on olive cardstock. Repeat the same steps for a second impression. If a slightly softer second impression is desired, do not re-apply the marker color, but simply “huff” on the stamp after the first impression has been completed to re-activate the remaining ink.
Trim the stamped cardstock with decorative scissors and adhere to a white, top-folded card with Tombow Dot Adhesive Stamp Runner.
Layer the stamped image with colored cardstocks and attach to the front of the prepared card with Tombow 3D Foam Tabs.
To create a fun embellishment, attach a Tombow Power Adhesive Tab to the card and remove the protective backing. Dust the exposed “sticky” portion of the tab with crystal glitter. Rub the glitter into the sides and top of the tab. Tap off the excess glitter and dust with a soft brush.
My final project for the week will be posted tomorrow and it is a little something for Mother's Day.
Have a great day,
Elizabeth
Supplies:
Penny Black Staps: Lace-Edged 4154K, To You 30-067, Illuminations 30-048
Penny Black Mix & Match Cardstock: Olive Grove 04-001, Periwinkle 11-003, Fuchsia Fantasies 13-003
Tombow Dual Brush Pens: 055, 133, 173, 228, 685, 703, 755
Other Materials:
Craft Fun Foam
Black Dye Ink
Crystal Glitter
Paintbrush
Decorative Trimming Scissors


