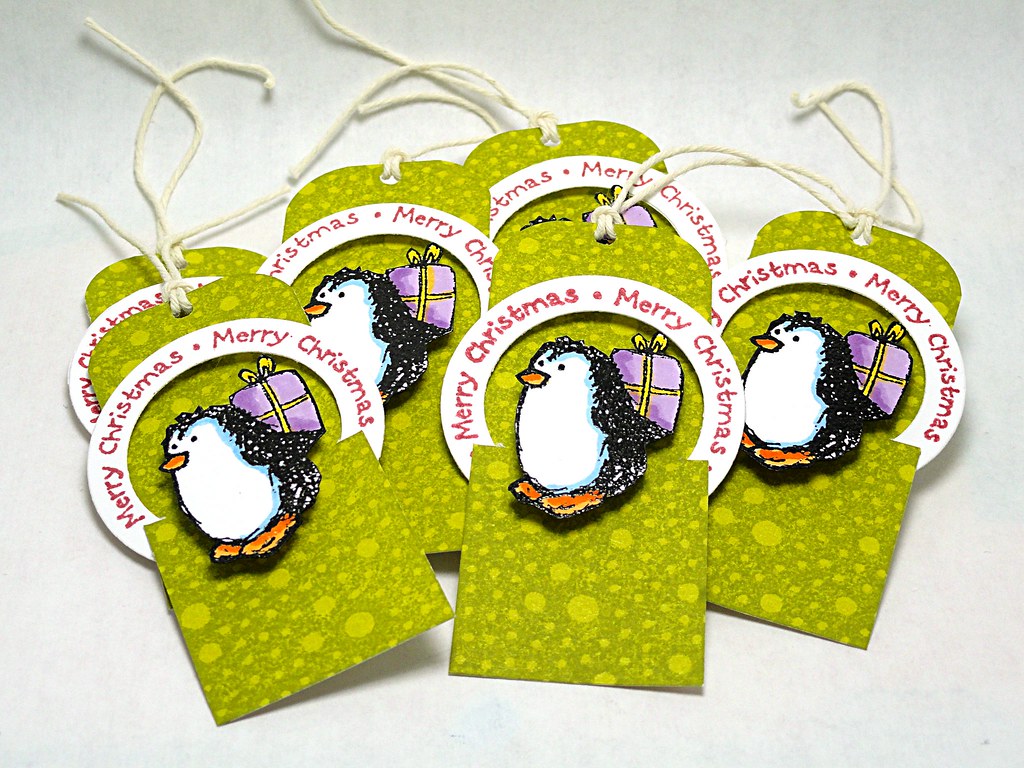
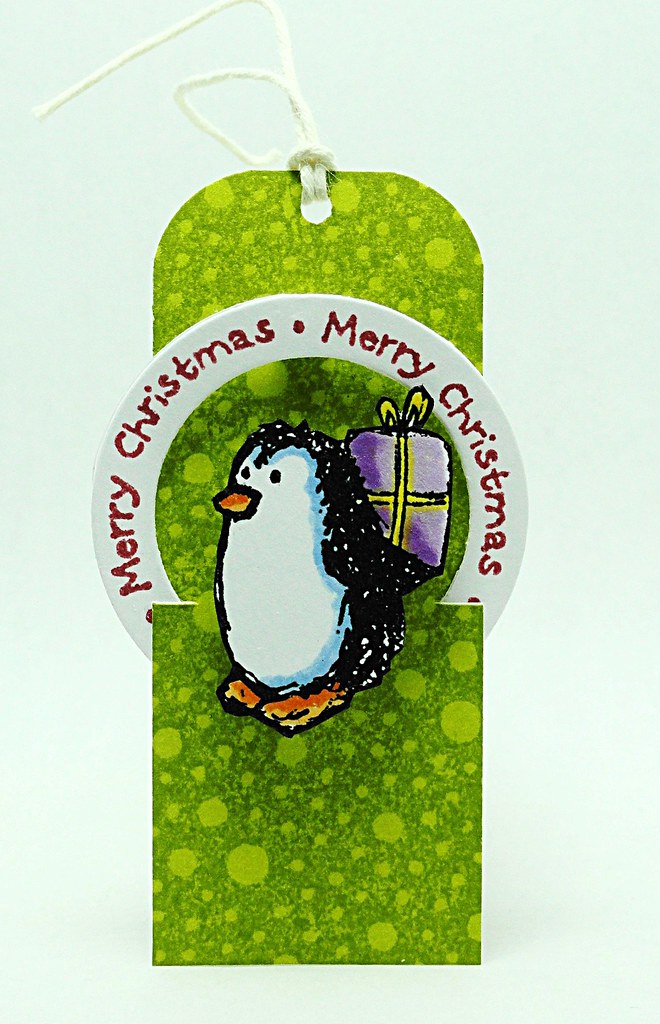
These tiny tags made with Penny Black stamps and Imagine Crafts/Tsukineko's inks were created in 6 holly-jolly steps.
This was also a make-n-take project I taught at the last CHA convention.
This was also a make-n-take project I taught at the last CHA convention.
Step
1
Cut
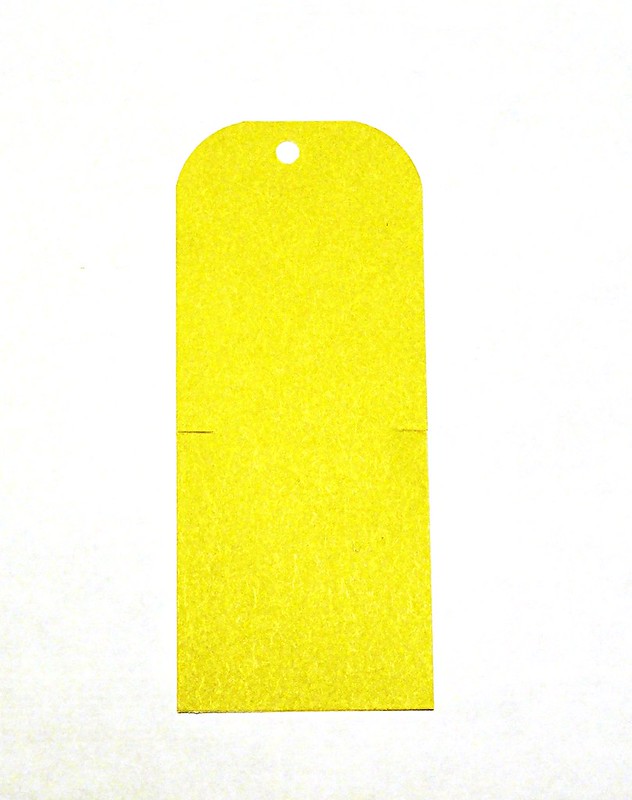
a 1 ¼ x 3-inch rectangle from Olive Grove Cardstock.
Round the top corners and punch a small hole
at the top.
Measure 1 5/8 inches down
from the top of the tag and make a 1/8” slit on each side.
Stamp
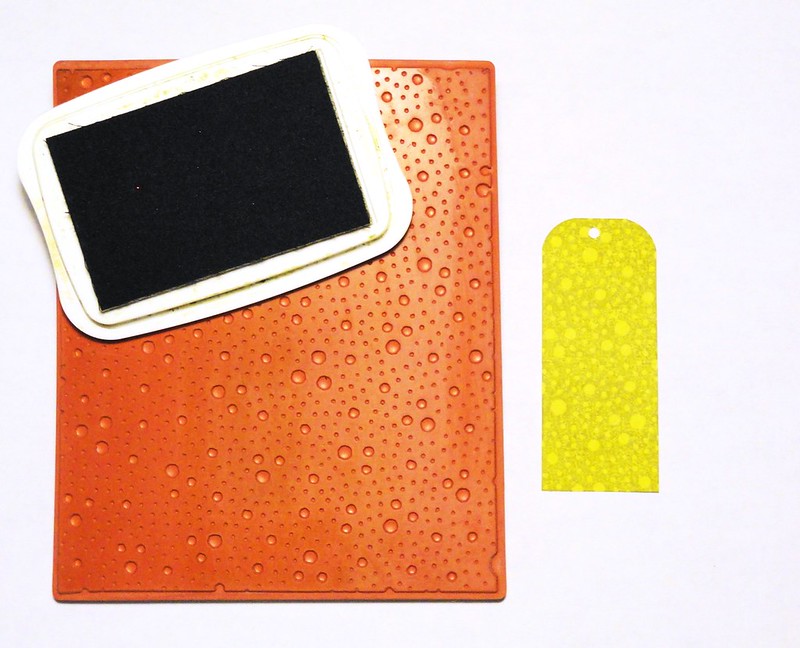
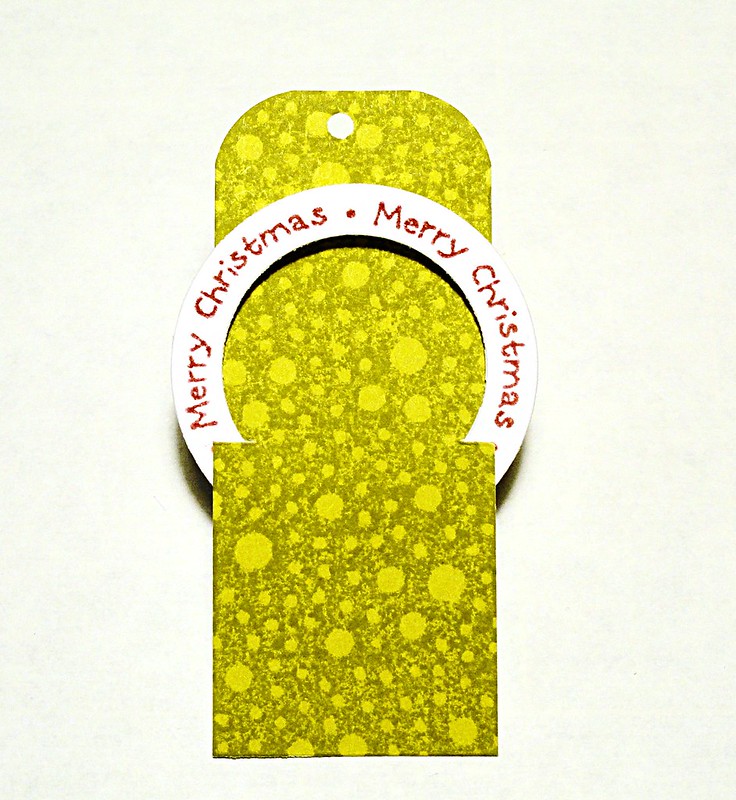
Crystal Pattern on the tag with Pistachio Memento ink.
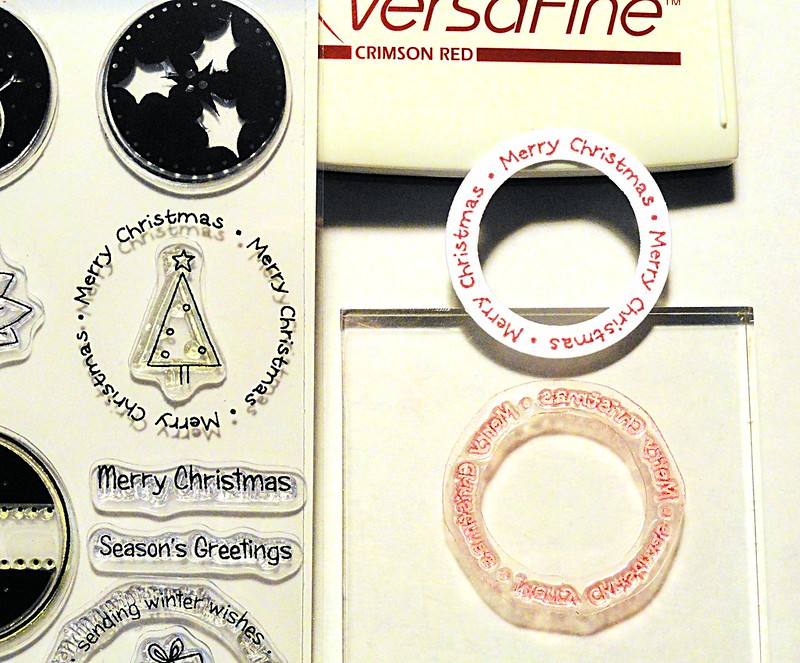
Stamp the circular sentiment from Winter Wishes with Crimson Red VersaFine
on a circular ring created with Spellbinders Standard Circles.
Step
4
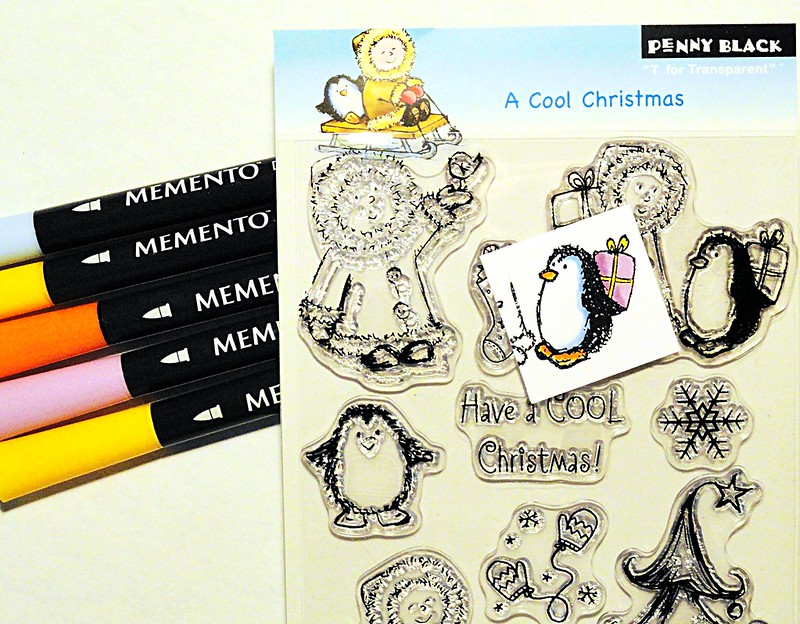
Stamp the penguin from A Cool Christmas on white cardstock with Onyx Black VersaFine
and heat emboss with clear powder. Color the image with Memento markers and trim.
Step
5
Thread
the tag through the ring and secure in the side notches.
Place a small amount of adhesive under the
ring on the back of the tag
and insert a piece of dimensional foam under the
front of the ring.
Adhere
the trimmed penguin to the tag with dimensional foam and add twine.
Smiles,
Elizabeth
Supplies:
Penny
Black Stamps: A Cool Christmas 30-128, Winter Magic 30-134, Crystal Pattern
40-162
Penny
Black Mix & Match Cardstock: Olive Grove 04-001
Imagine
Crafts/Tsukineko: Onyx Black VersaFine, Crimson Red VersaFine, Clear Embossing
Powder, Pistachio Memento, Memento Markers (Dandelion, Cantaloupe, Tangelo,
Summer Sky, Lulu Lavender)
Spellbinders:
Standard Circles Small

