March 15, 2013

Turning Wallpaper Into Leather

Having fun with textured wallpaper! 

 Turning Wallpaper Into Leather
This creative experience revealed that wallpaper could take on the appearance and feel of LEATHER!


DSC04413
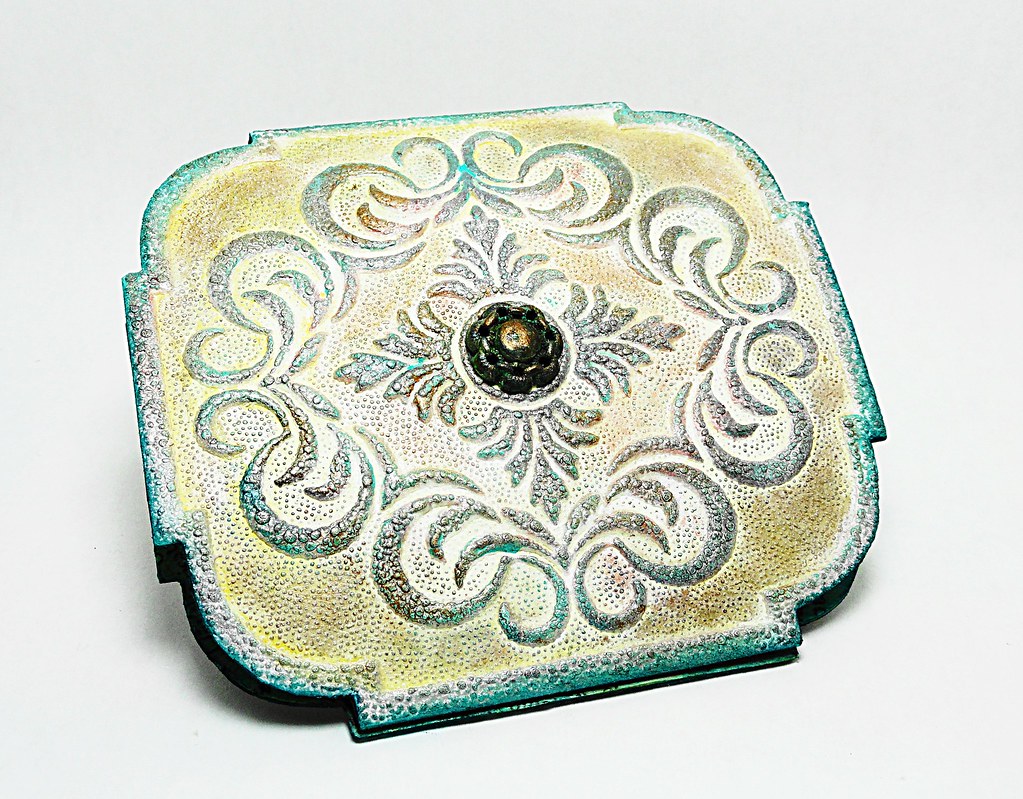
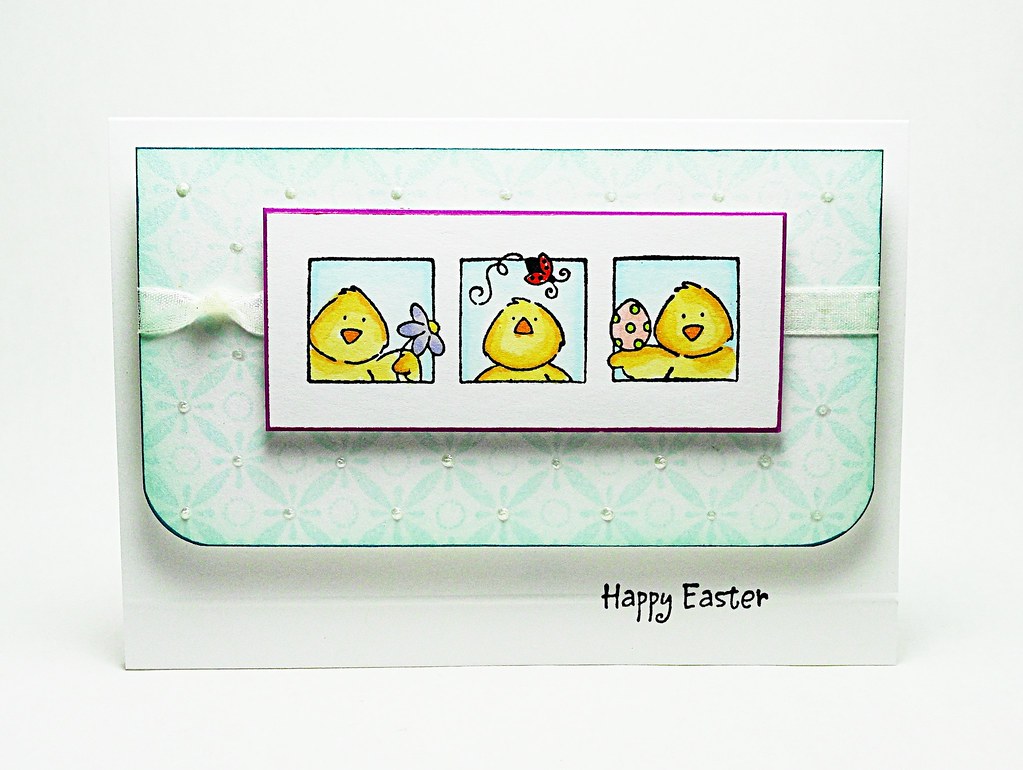
This note pad holder measures 4 x 4 1/2.

The repetitive pattern of the wallpaper allowed two consecutive designs to be trimmed as one segment to create the holder.  Recycled cardboard is used between the wallpaper and antiqued tissue paper to create stability. 


DSC04415
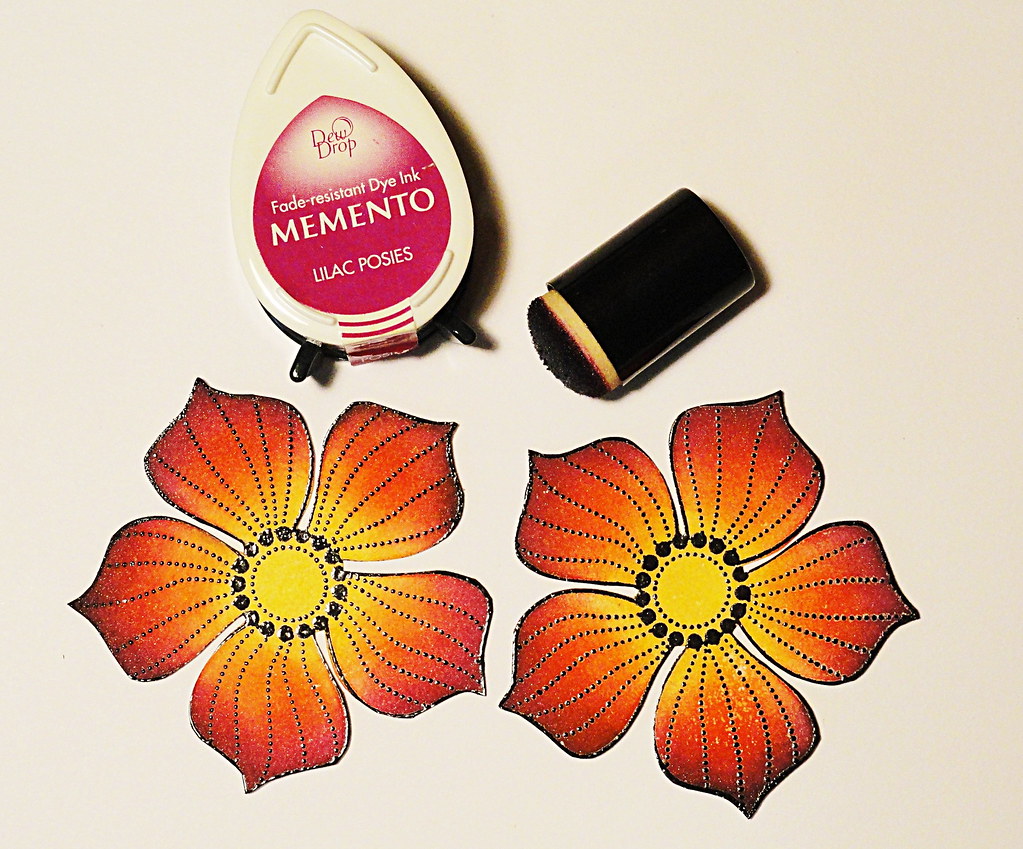
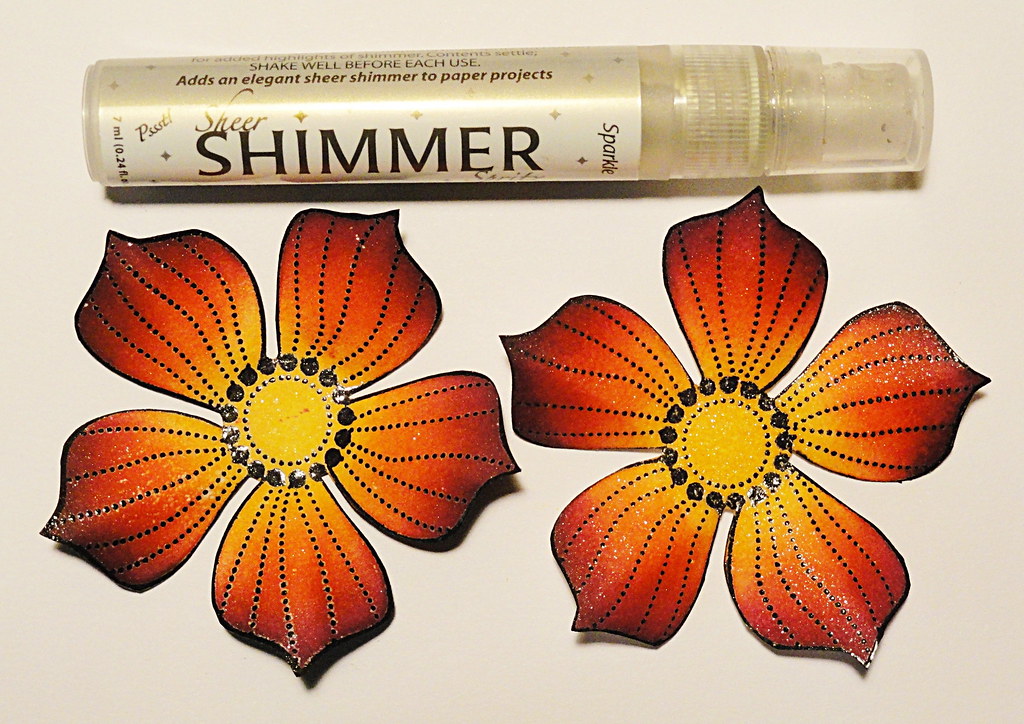
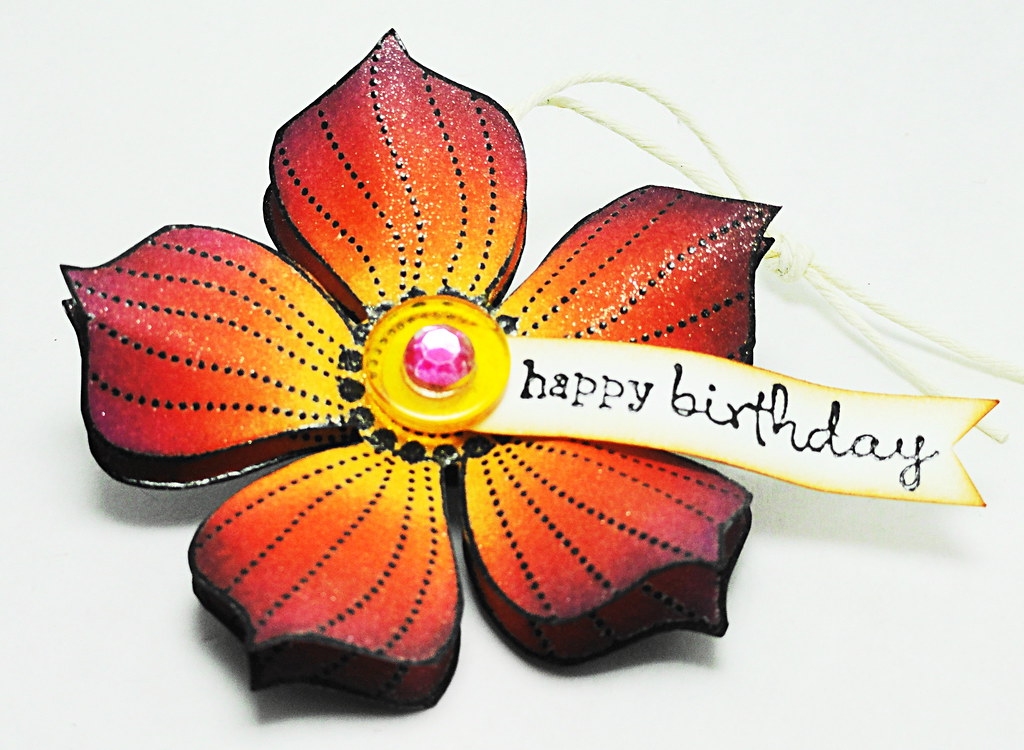
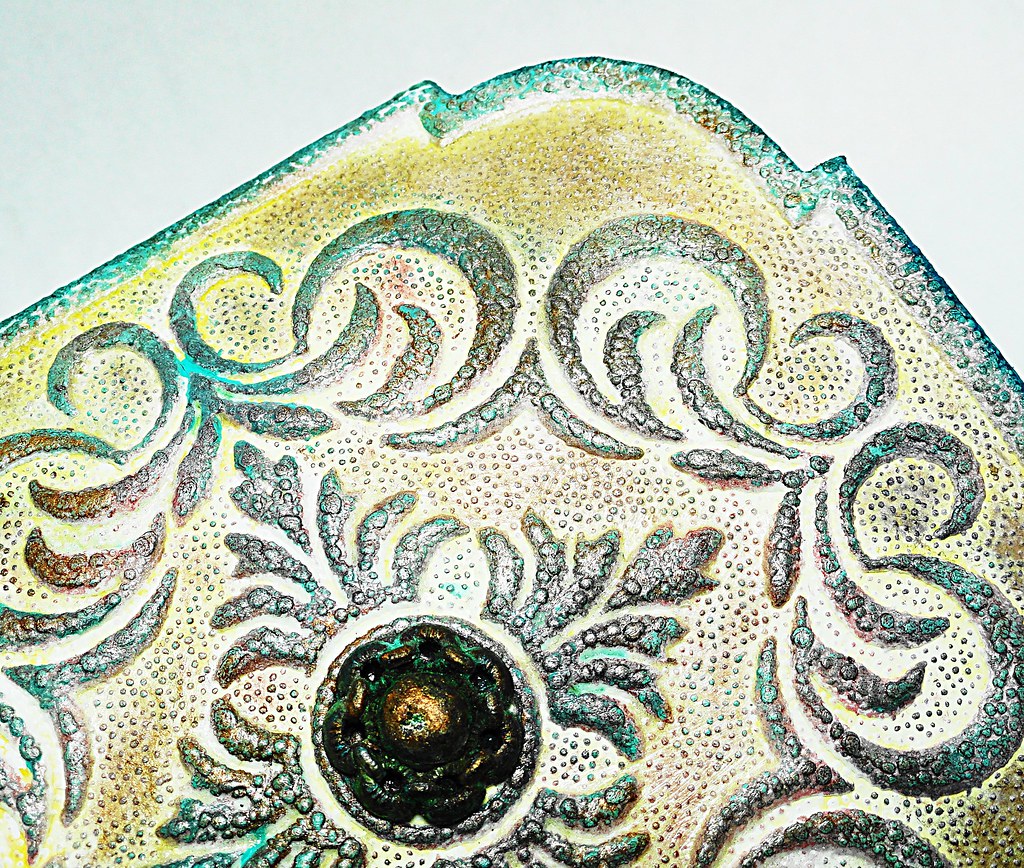
To begin, a diluted wash of yellow ochre acrylic paint was applied to the white wallpaper.  Then layers of different colored metallic rub-ons were added.  To pronounce the raised design in certain spots, Virdi acrylic paint was dabbed on.  The final application was a coat of Shimmer Creative Medium.

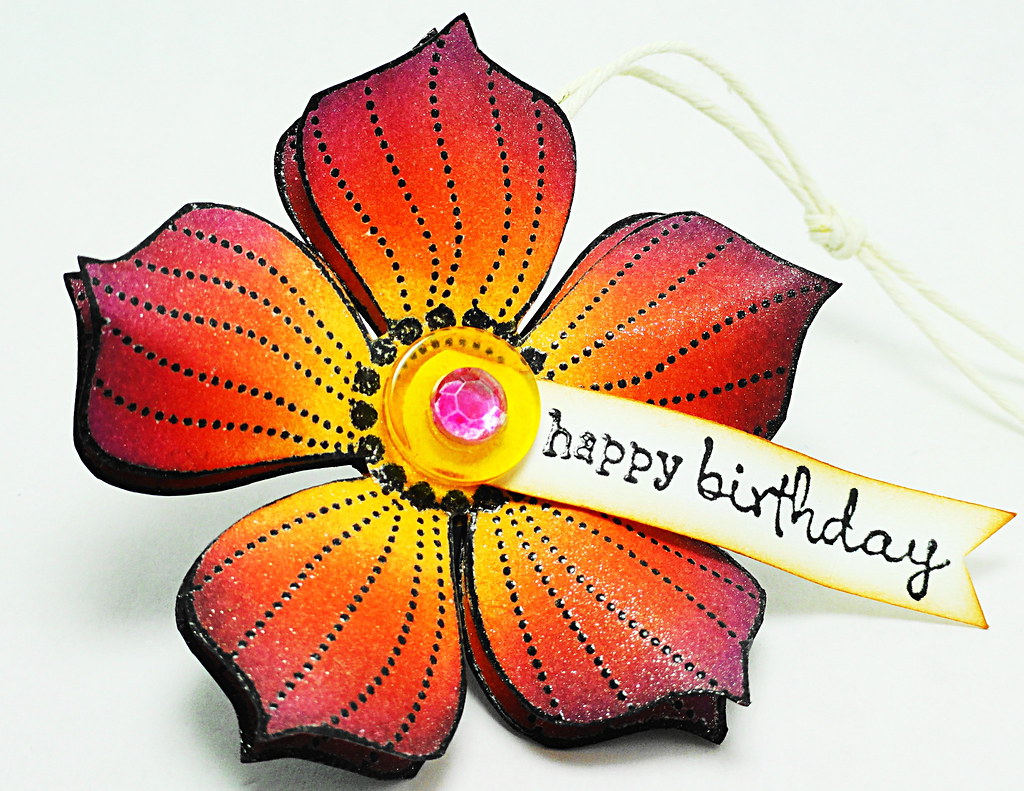
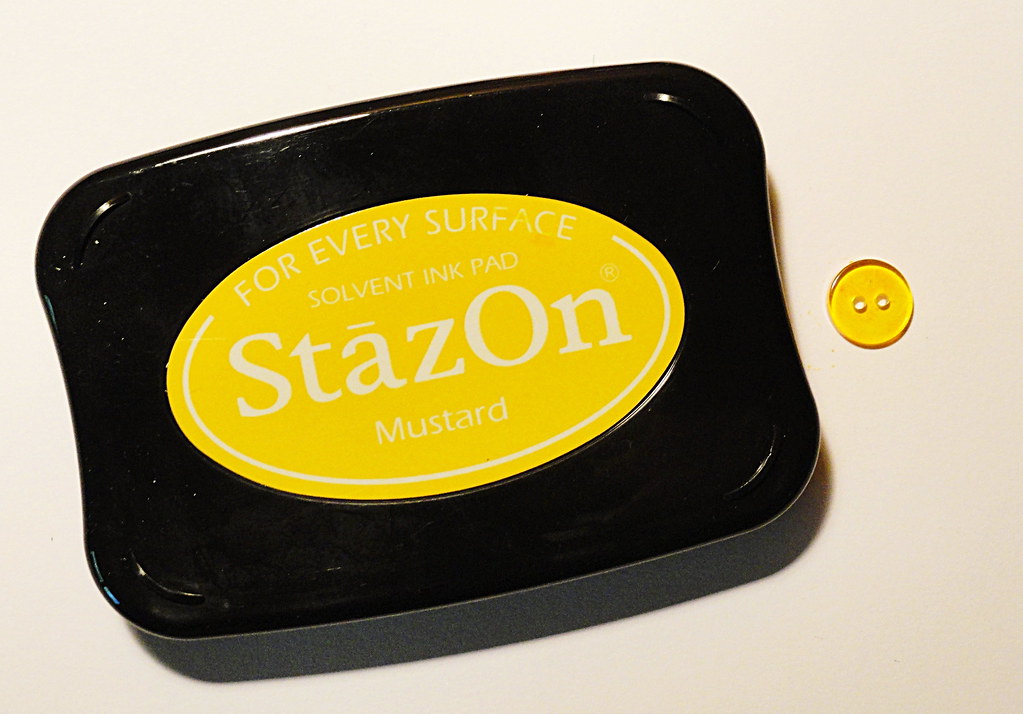
The shank was removed from an antique button to create the center embellishment.


DSC04417
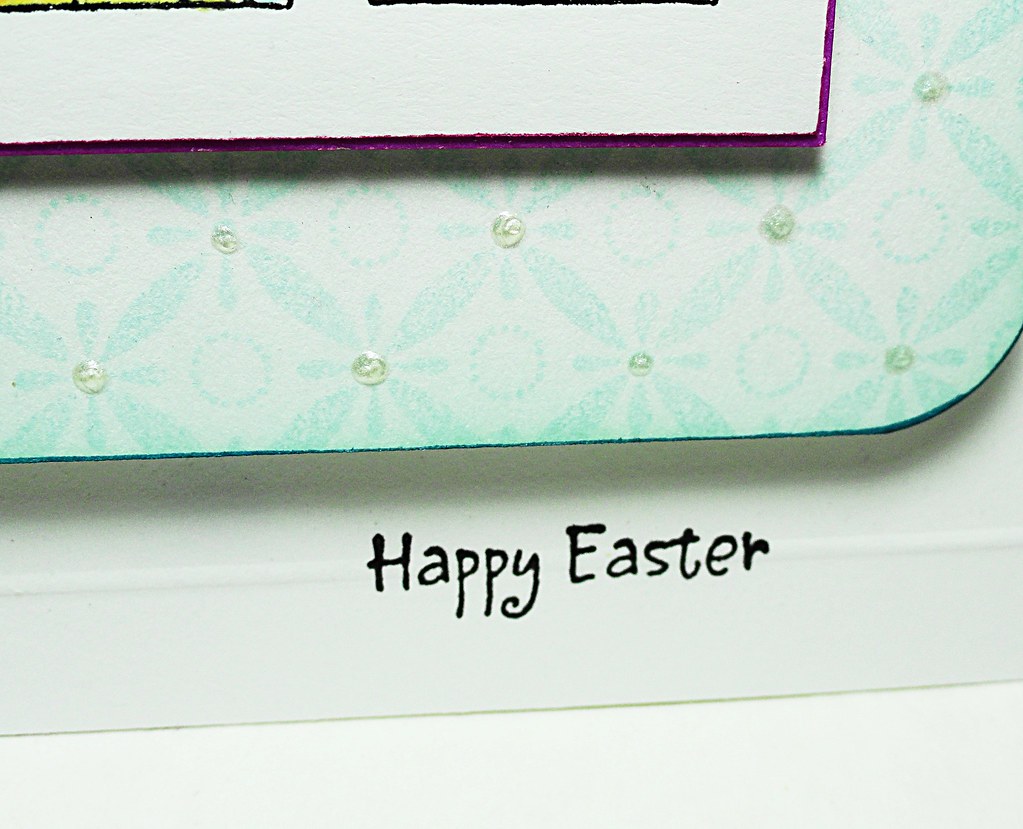
The exposed cardboard on the inside was coated with clear Gesso and then Tim Holtz's printed tissue paper was attached with Gel Medium.  Vintage Creative Medium was used to instantly antique the paper.  A Cobalt Green PITT Artist Pen was perfect for adding/blending teal highlights around the edges.


DSC04424
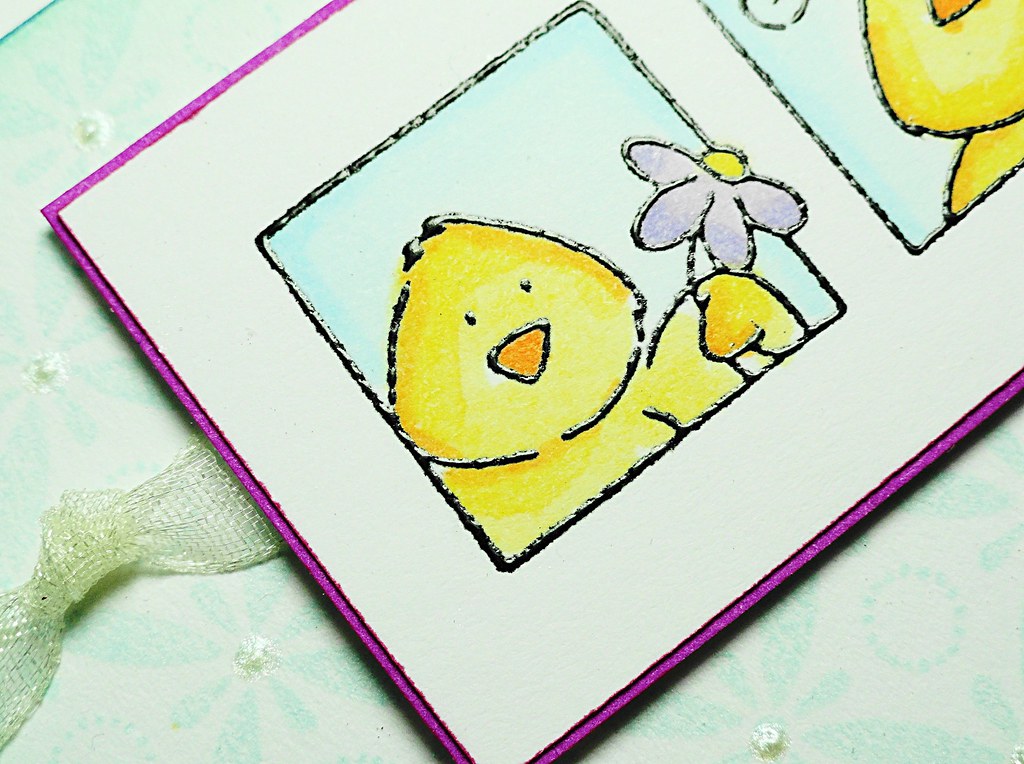
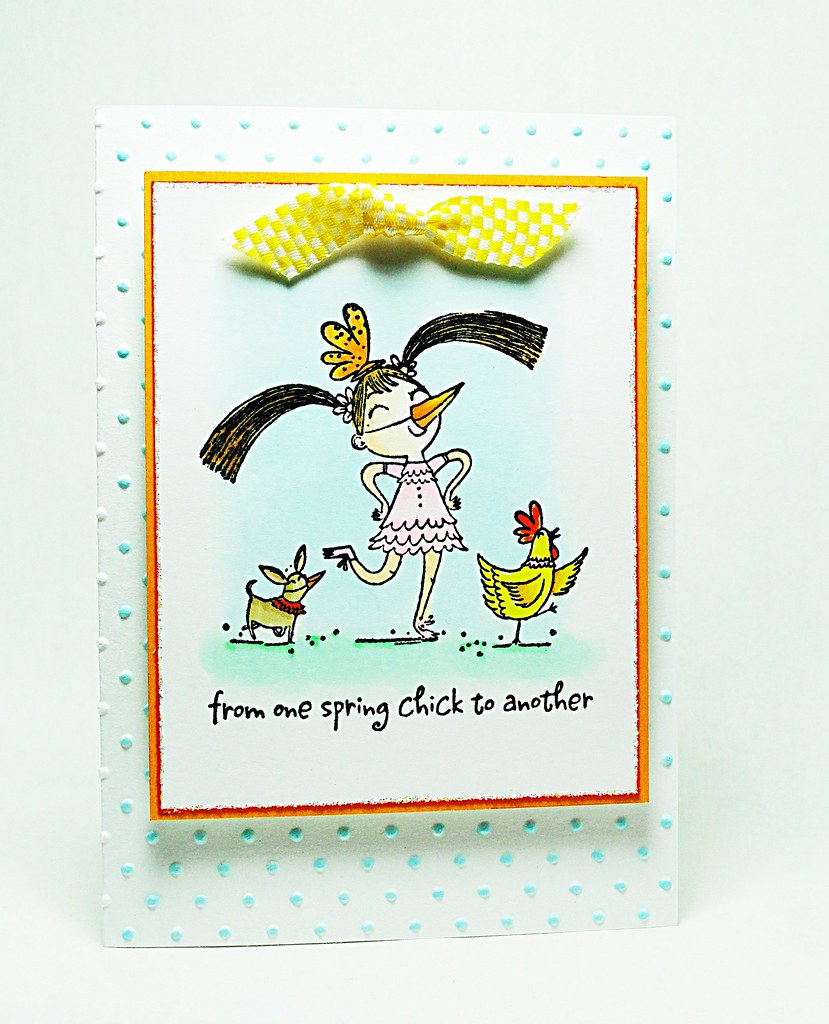
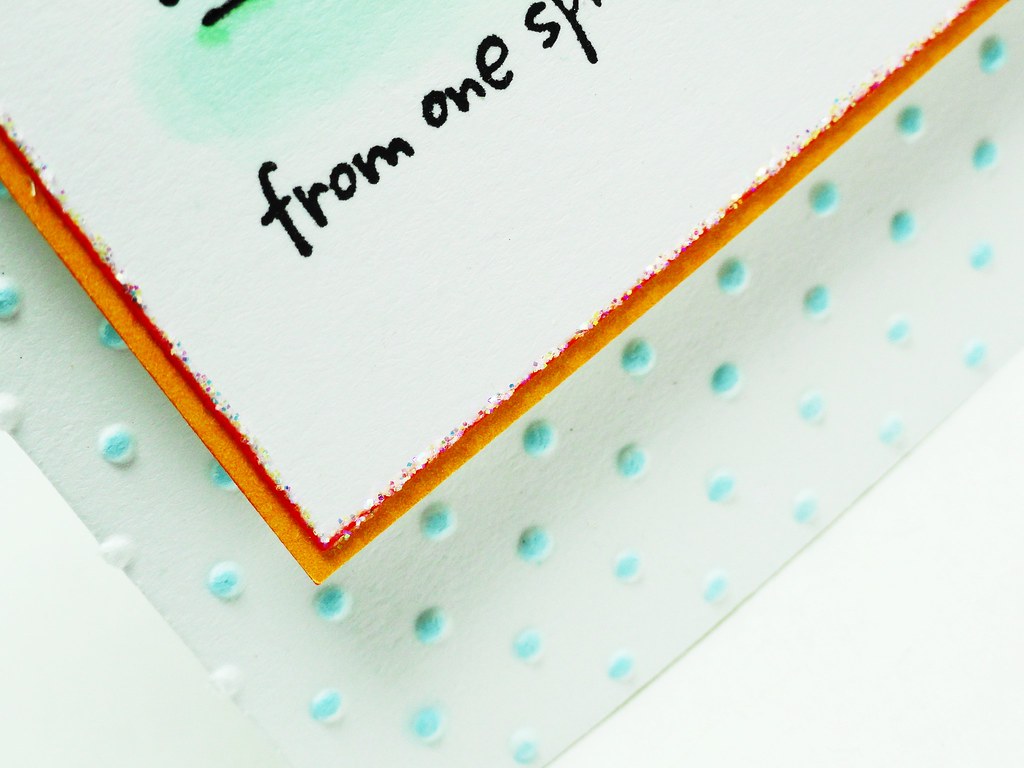
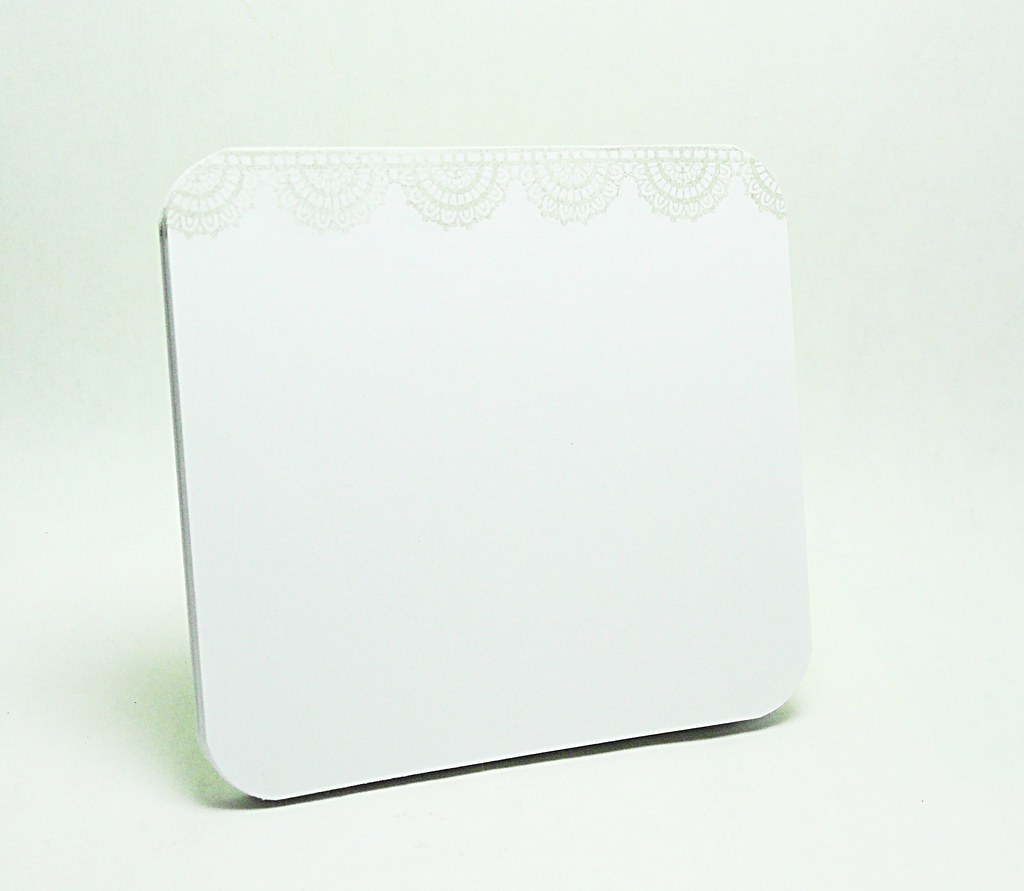
A custom note pad was made from copy paper.  After cutting the paper to size, each piece was stamped with a border from Lace Delight in Niagara Mist VersaMagic.  Clamping the papers together and adding glue to the top edge secured the pad. 


DSC04421
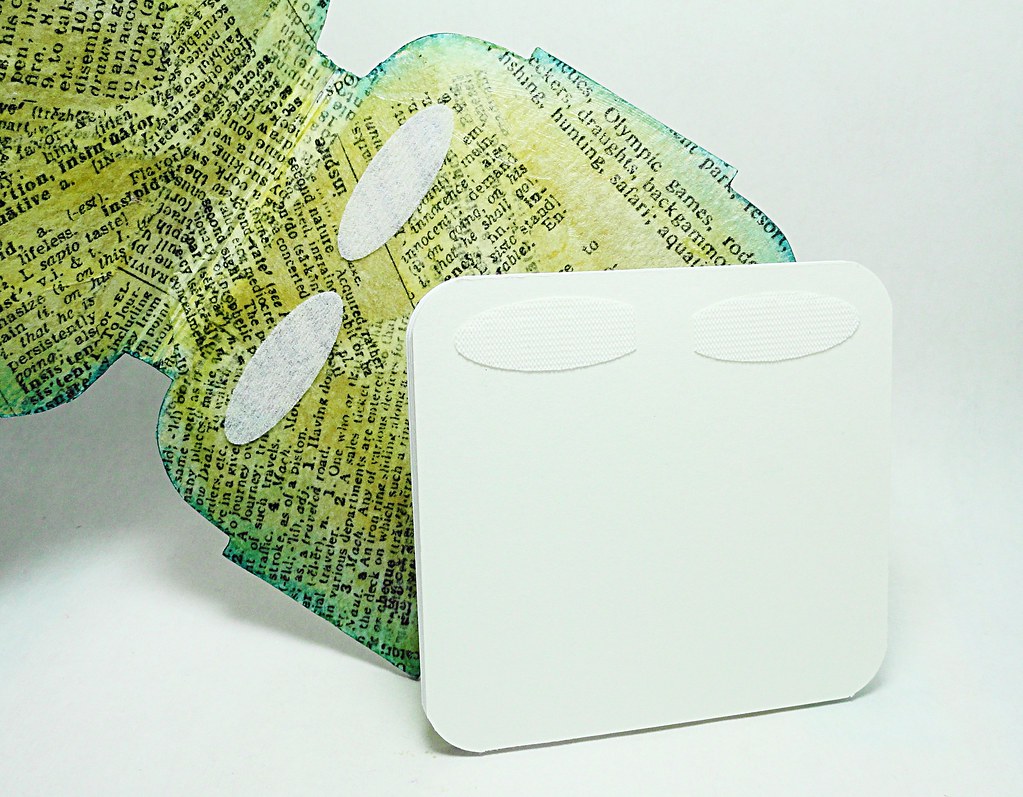
Tombow's Fastener Tabs were used on the back of the pad and base of the holder so the note pad could be replaced as needed. 

Thank you for visiting!

Elizabeth

Supplies:
Penny Black Stamps: Lace Delight 30-115
Acrylic Paint: Virdi, Yellow Ochre
Craf-T Products: Metallic Rub-Ons
Faber-Castell: Cobalt Green (156) PITT Artist Pen Big Brush
Imagine Crafts/Tsukineko: Niagara Mist VersaMagic, Shimmer Creative Medium, Vintage Creative Medium
Liquitex: Clear Gesso, Mat Gel
Tim Holtz: Tissue Paper
Tombow: Fastener Tabs (Hook & Loop Tabs)
Other: Antique Button, Recycled Cereal Box, Textured Wallpaper  

For questions and/or comments, please feel free to e-mail me at:  elizabeth.a.allan@gmail.com

March 13, 2013

Fairy Wishes

Framing is a quick technique which adds great dimension to any card design and is oh-so-easy (and fun) to do.

Fairy Wishes
Penny Black’s Fairy Sweet (illustrated by Mo Manning) was stamped in Onyx Black VersaFine on watercolor paper and heat embossed with clear powder.  The image was watercolored with Tombow Dual Brush Pens.  Tip/Hint: For extra glowing enchantment, the wings and dress also had a layer of USArtQuest Interference Gold Pigmented Mica Watercolor paint added to them.  


DSC04378a
The white cardstock frame was die cut using Spellbinders Classic Squares.  The frame and die were run through the die cutting machine a second time with a rubber mat to create the embossed ridge.  Before layering, a Delicata Golden Glitz ink pad was run along the outside edges of the frame. 


DSC04382
An additional flower was stamped, trimmed and adhered to overlap the frame for a colorful embellishment.


DSC04386
These darling images can be used for so many occasions.  Tuck a few aside and, when needed, personalize the inside of the card.  For this design, the sentiment from Friendship was stamped in Pink Grapefruit VersaMagic on a banner edged in Delicata Golden Glitz ink.

Have a magical day,
Elizabeth

Supplies:
Penny Black Mix & Match Cardstock:  Storm 01-001
3M Scotch: Dimensional Foam Tape
Canson: Watercolor Paper
Imagine Crafts/Tsukineko: Onyx Black VersaFine, Pink Grapefruit VersaMagic, Delicata Golden Glitz, Clear Embossing Powder
Tombow: Dual Brush Pens
Spellbinders: Classic Squares
USArtQuest: Jewelz Duo & Interference Watercolor Palette (Interference Gold)

For questions and/or comments, please feel free to e-mail me at:  elizabeth.a.allan@gmail.com

March 11, 2013

"Tagged" with Happy Wishes (Tutorial)

Welcome to a colorful collision of Imagine Crafts/Tsukineko inks and Penny Black stamps.

Happy Birthday Tag
A festive birthday tag!


Instructions

Step 1
Stamp two flowers on white cardstock with Onyx Black VersaFine
and heat emboss with clear powder.


Step 2
Trim the flowers and apply Dandelion Memento ink
to the centers with a sponge dauber.


Step 3
Next, apply Morocco Memento ink with a sponge dauber.


Step 4
To finish, apply Lilac Posies Memento ink to the outside edges.


Step 5
Spray the flowers with Sparkle Psst Sheer Shimmer Spritz.
For dimension, add soft bends to the flower petals.


Part of Step 6  Part (b) of Step 6
Tap Mustard StazOn on a clear button and Cherry Pink StazOn on a crystal gem.
Tip/Hint:  Embellishments that are clear or neutral can be easily color coordinated to any project. 


Layer View
Assemble the tag by placing a piece of dimensional foam in the center of the first flower 
and tie the twine loop around the foam.  Top with the second flower.

For the banner, stamp the sentiment on white cardstock with 
Onyx Black VersaFine and heat emboss in clear powder. 
Edge the banner with Peanut Brittle Memento ink.  
Attach to the back of the button using GooseBumps Clear Texture Spray as an adhesive.  
Attach the button/banner accent to the center of the flower with dimensional foam. 
Add the colored gem to the button.

Design Variations:  Eliminate the twine loop and use as a bow for a gift.
                             String multiple flowers together for a festive garland.
                             Use as a card embellishment.

Thank you for stopping by!  

Have a wonderful day,
Elizabeth

Supplies:
Penny Black Mix & Match Cardstock: Storm 01-001
Imagine Crafts/Tsukineko:  Onyx Black VersaFine (VF-082), Dandelion Memento (MD-100), Morocco Memento (ME-201), Lilac Posies Memento (MD-501), Peanut Brittle Memento (ME-802), Mustard StazOn (SZ-091), Cherry Pink StazOn (SZ-081), Sparkle Psst Sheer Shimmer Spritz (IA-SML-004), GooseBumps Clear Texture Spray (TS-000-001), Sponge Daubers (ST-DAB-003) , Clear Embossing Powder (EB-000-005)
Other:  Clear Button, Crystal Sticker Gem – Mark Richards, Twine, Heat Tool, Scissors, Dimensional Foam

For questions and/or comments, please feel free to e-mail me at:  elizabeth.a.allan@gmail.com

March 7, 2013

Spring Is In The Air - Day 4 of 4

Hopping down the bunny trail for the last day of the spring celebration.  

Just for You


Lots of fun layers and paper piecing.

DSC04290 (2)


Penny Black's new release "Garden Critters" has many 
spring delights and smiles for the whole year.


Make-It-Quick Instructions 
  1. Die cut a Label Twenty-two from white cardstock and trim the top and bottom to remove the half circles.  Die cut an oval from the center and set aside to use later.
  2. Using sponge daubers apply Aquatic Splash VersaMagic to the outer portion of the die cut and Mango Madness VersaMagic around the center die cut oval as shown.  Stamp the decorative branches in Teal Zeal Memento and the sentiment in Onyx Black VersaFine.  Attach with dimensional foam to a narrow card base with a top fold created from Fuchsia Fantasies cardstock.
  3. Apply Morocco Memento ink to the edges of the oval die cut set aside in Step 1 and attached to the front of the prepared card with dimensional foam.
  4. Stamp the bunny on white cardstock in Onyx Black VersaFine and heat emboss with clear powder.  Color and trim. (Create additional paper pieced layers for the bunny as desired.)
  5. Attach the bunny to the card with dimensional foam.

Thank you for joining me these past four days to celebrate the upcoming arrival of spring! 

If you would like to see the previous three spring posts, please scroll down or click "here", "here" and "here".

Smiles,
Elizabeth

Supplies:
Penny Black Mix & Match Cardstock: Storm 01-001, Fuchsia Fantasies 13-001
3M Scotch: Dimensional Foam Tape
Copic Markers
Imagine Crafts/Tsukineko: Onyx Black VersaFine, Aquatic Splash VersaMagic, Teal Zeal Memento, Morocco Memento, Mango Madness, Sponge Daubers
Spellbinders: Classic Ovals, Labels Twenty-Two


For questions and/or comments, please feel free to e-mail me at:  elizabeth.a.allan@gmail.com

March 6, 2013

Spring Is In The Air - Day 3 of 4

For the 3rd day of my spring celebration, a happy bird takes flight in an interactive card.  
(For Days 1 and 2, please scroll down or click "here" and "here")

 DSC04407a


This small element is a removable magnet!

DSC04410a 


Here's a look at all the wonderful images in this new 
Penny Black spring set called Nature's Wishes!


Make-It-Quick Instructions 
  1. Create a 3 ¾” square top-fold card from white cardstock and wrap a green ribbon around the front flap and secure the ends on the front.  Set aside.
  2. On a 3 ¼” square of white cardstock, stamp the image and sentiment in Onyx Black VersaFine and then color.  (Tip/Hint:  Glue a small piece of metal behind the bird on the reverse side of the cardstock.  This will hold the magnet in place.)  Round the top right and bottom left corners.  Attach to the front of the prepared card with dimensional foam.
  3. Stamp the image a second time on white cardstock.  Use a circle punch to trim the image and then punch a second circle from cardboard.  Color the image and adhere it to the cardboard.
  4. Attach a magnet to the back and apply a coat of gloss varnish to the front.  Let dry.  Place the magnet on the card overlapping the corresponding image.

You can also see additional interactive inspiration today on the Penny Black Blog.

I'll be "hoppin" by tomorrow with another spring card for Day 4.

Elizabeth


Supplies:
Penny Black Stamps: Nature’s Wishes 30-109
Penny Black Mix & Match Cardstock: Storm 01-001
3M Scotch: Dimensional Foam Tape
American Crafts: Ribbon
Copic Markers
Imagine Crafts/Tsukineko: Onyx Black VersaFine, Clear Embossing Powder
Other: Liquitex Gloss Varnish, Corner Rounder, Circle Punch, Magnet, Cardboard 

For questions and/or comments, please feel free to e-mail me at:  elizabeth.a.allan@gmail.com

March 5, 2013

Spring Is In The Air - Day 2 of 4

Welcome to Day 2 of "Spring is in the Air".  (For Day 1, please scroll down or click "here".)

Today’s featured Penny Black spring transparent set is Chick to Chick.

All In A Row


You can’t help “awwwing” over these cuties.

DSC04293 (1a)


A soft spring background was made from Indian Wheel accented with 3-D paint dots. 

DSC04295a


Look at all the cute “peeps” in this set.....


Make-It-Quick Instructions
  1. Stamp the sentiment in Onyx Black VersaFine 3/8” from the bottom edge of a white Les Petite card blank.  Dry emboss a horizontal line on either side of the sentiment.  Set aside.
  2. Stamp Indian Wheel in Sea Breeze VersaMagic on a 2 3/8 x 4 3/8 piece of white cardstock and round off the bottom two corners.  Accent with dimensional paint and let dry.  Tie a sheer ribbon around the piece and then attach to the front of the prepared card with dimensional foam.
  3. Stamp the chicks on a 1 ¼ x 3 piece of white cardstock in Onyx Black VersaFine and heat emboss with clear powder.  Color and mat the image with Fuchsia Fantasies cardstock.  Attach to the front of the card with dimensional foam.


See you tomorrow with another new spring transparent set for Day 3 and a card featuring an interactive element.

Elizabeth

Supplies:
Penny Black Les Petites 90-001
Penny Black Mix & Match Cardstock: Storm 01-001, Fuchsia Fantasies 13-002
3M Scotch: Dimensional Foam Tape
Copic Markers
Duncan: 3D Paint - Iridescent White Mist
Imagine Crafts/Tsukineko: Onyx Black VersaFine, Sea Breeze VersaMagic, Clear Embossing Powder
Offray: Sheer Ribbon

For questions and/or comments, please feel free to e-mail me at:  elizabeth.a.allan@gmail.com

March 4, 2013

Spring Is In The Air - Day 1 of 4

Penny Black has just released four new transparent sets for spring!  They are sooo cute!  

Over the next four days, I am excited to share a new stamp set each day with a card created from the set along with instructions.

For Day 1, Lulu skips in with a happy entrance.     

 Lulu and Friends

  
A view from the corner shows the texture from the Swiss Dots embossing folder and the sparkle from the Crystal Stickles. 

 DSC04301 (1)


Here is a look at the whole set (Lulu Spring) and all the fun images.  Lulu is definitely a “funny bunny”!


Make-It-Quick Instructions 
  1. Dry emboss the front of a white Les Petites card blank with Swiss Dots.  Highlight the raised dots with a Copic marker (B000).  Set aside.
  2. Stamp Lulu and friends on a 2 ¾ x 3 ½ piece of white cardstock in Onyx Black VersaFine and heat emboss with clear powder.  Color images.
  3. Mat the stamped piece with a 2 7/8 x 3 5/8 piece of Summer Sun cardstock and then attach to the front of the prepared card with dimensional foam.
  4. Accent with a small bow and stickles.

See you tomorrow with more spring thoughts!

Elizabeth

Supplies:
Penny Black Stamps: Lulu Spring 30-166, Chick to Chick 30-150 (sentiment)
Penny Black Les Petites 90-001
Penny Black Mix & Match Cardstock: Storm 01-001, Summer Sun 17-003
3M Scotch: Dimensional Foam Tape
American Crafts: Ribbon
Copic Markers
Imagine Crafts/Tsukineko: Onyx Black VersaFine, Clear Embossing Powder
Provo Craft: Swiss Dots Embossing Folder
Ranger: Crystal Stickles

For questions and/or comments, please feel free to e-mail me at:  elizabeth.a.allan@gmail.com