
And the lucky winner of the "sticky giveaway" is.....

…..Bumblebee Creations! "Bumblebee" was the twelfth comment entered in the giveaway. Please contact me at elizabeth.a.allan@gmail.com with your mailing information and I will get these "sticky" goodies posted to you without delay.
For this congratulatory card for Bumblee Creations, I combined a few different techniques while creating the flower and background design.

The base of the card is a 3 5/8 x 10-inch piece of dark Spring Meadow cardstock folded in half. The decorative mat is a 3 ½ x 4 7/8-inch piece of medium Spring Meadow cardstock that was stamped with the Paisley Outline in VersaMark Watermark ink and heat embossed with white. To create a softer, slightly worn look, I held a Stone Gray StazOn ink pad parallel to the top of the embossed powder and just barely “kissed” the embossed design then quickly buffed the ink with a paper towel.
Green and gold metallic rub-ons were then applied across the stamped image. I worked in the colors with my finger so I could fill all the tiny areas and occasionally buffed the design with a clean paper towel.
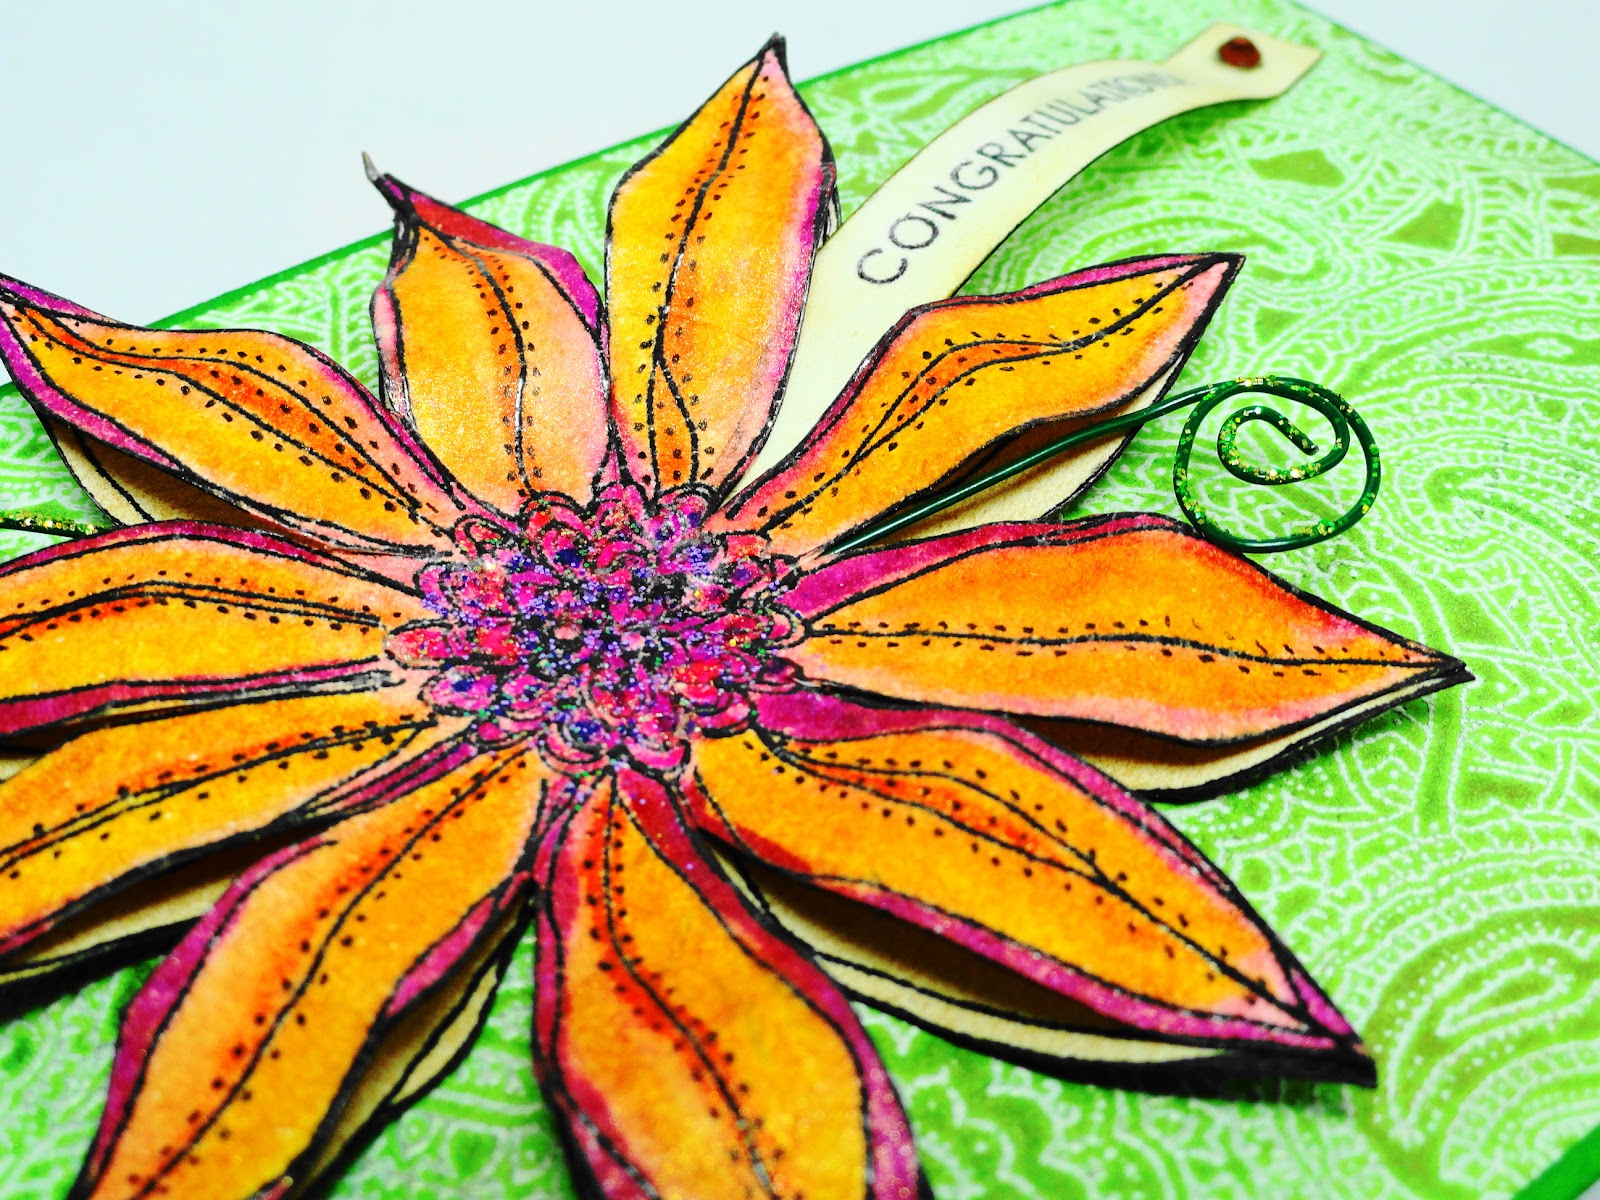
For the dimensional flower, I stamped Star-Inspired twice. Once on watercolor paper with black pigment ink and heat embossed with clear powder and a second time with black ink on the white side of a dark piece of Fuchsia Fantasies cardstock and skipped the embossing.
I water colored the flower stamped on watercolor paper and then added small accent dots with a black Micron pen. To subdue the colors, a quick pouncing of Vintage Photo Linen Distress ink was applied. After trimming the flower, I sprayed it with Copper Sheer Shimmer Spritz and while wet incorporated soft bends and folds.

While the first flower was drying, I trimmed the second flower on the purple cardstock. The reason for stamping the flower on the white side of the purple cardstock was to have the purple portion facing toward the back of card which would be pretty if viewed from behind and so I could have a white contrast reflected from the interior of the flower. I also stamped the purple side with the Paisley Outline in Grape Jelly Memento.

To assemble the flower, the purple flower was placed face down (so the white side was facing up) and then the sentiment banner and twisted florist wire were added. The banner was stamped with a portion of the sentiment from the Cute As A Button slapstick set then pounced with Antique Linen Distress ink and Gold Sheer Shimmer Spritz.

After the wire and banner were secured to the base of the flower, adhesive was applied to the tips of the petals and the center of the flower. The water colored flower was then aligned on top.

A little bit of lime green stickles was added to the wire and a very tiny bit of orange peel stickles to the center of the flower.
These flowers are great for bouquets too. Instead of attaching them to a card, create long stems with florist wire. With the decorative backside, they are pretty from any angle.
Enjoy your day,
Elizabeth
Supplies:
Penny Black Stamps: 4156K Star-Inspired, 40-048 Paisley Outline, 40-052 Cute As A Button
Penny Black Mix & Match Cardstocks: Spring Meadows 06-001, 06-003, Fuchsia Fantasies 13-003
Canson: Watercolor Paper
Tsukineko: Onyx Black VersaFine, Grape Jelly Memento, Stone Gray StazOn
Ranger: Antique Linen Distress, Vintage Photo Distress, Lime Green Stickles, Orange Peel Stickles, Glossy Accents (adhesive for flower and sentiment)
Staedtler-Mars Ltd.: Marsgraphic Duo Watercolor Markers
Craf-T Products: Metallic Rub-Ons (Color Kit #1)
Mark Richards: Amber Sticker Elements
Clear Embossing Powder
Green Wire