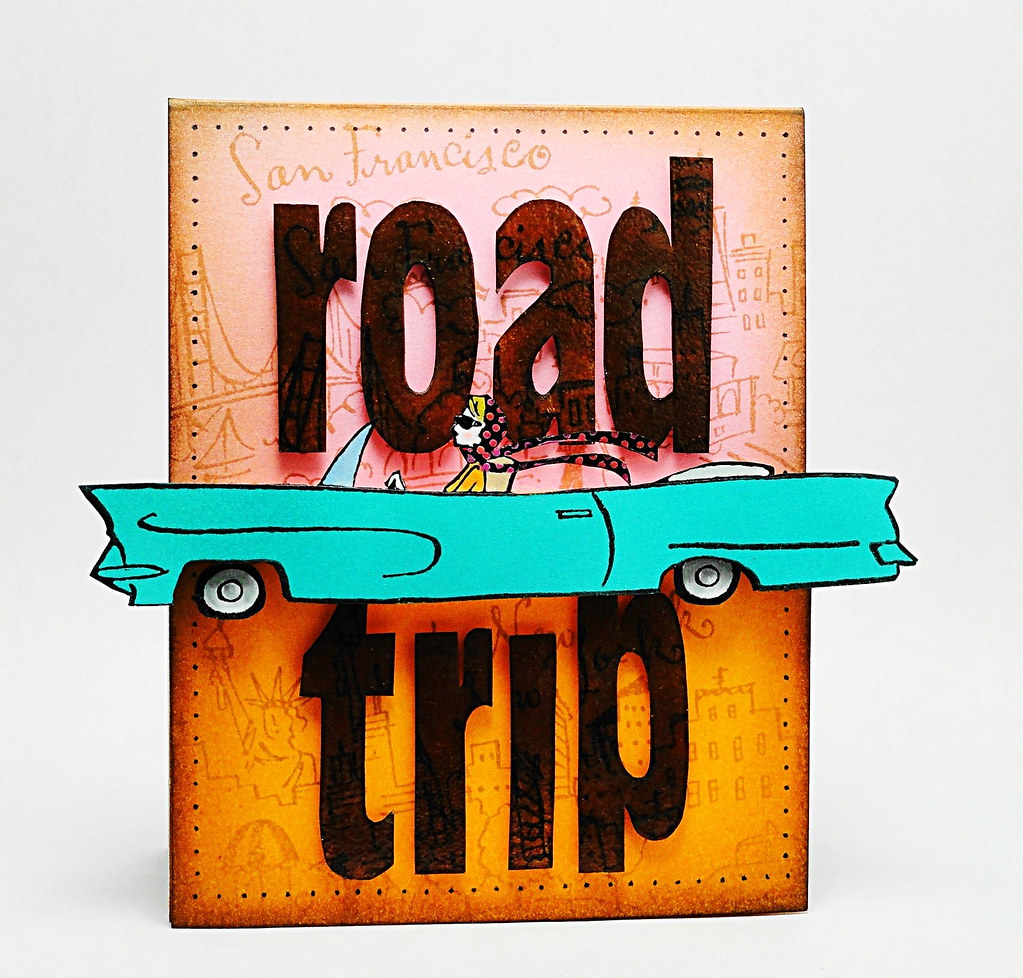
Today's project is a notebook designed to be a small journal to capture memories.
Inside there are lots of pages to affix photos/memorabilia or to write notes.
If you are interested in assembling one of your own or would like to see how a certain segment was made, the detailed instructions along with a supply list have been provided below for your reference.
Instructions
Cut
a 3 ½ x 8 7/8 inch piece of pink cardstock and score two vertical lines along
the horizontal edge at 4 3/8 and 4 ½.
Fold on the creases to create a 3 ½ x 4 3/8 card with a 1/8-inch top
fold.
Stamp
San Francisco on the top half with Toffee Crunch Memento. Using jumbo sponge daubers, highlight the
edges with Peanut Brittle and Vintage Sepia VersaFine inks.
Cut
a 2 ¼ x 3 ½ inch piece of orange cardstock and stamp with New York in Toffee
Crunch Memento. Using sponge daubers,
highlight the edges with Peanut Brittle and Vintage Sepia VersaFine inks. Attach to bottom half of the prepared base
with dimensional foam.
Add
small dots around the perimeter of the design with a Tuxedo Black Memento
marker.
Letters:
Stamp the letters (Robust Lowercase) on white cardstock with Toffee VersaFine. Add subtle highlights with a sponge dauber
and Love Letter Memento.
Stamp
San Francisco and New York over the letters in Tuxedo Black Memento. Trim the letters and pounce with Vintage
Sepia VersaFine. Sprinkle each letter with
embossing powder, tap off excess and heat set.
Adhere
the letters to the front of the notepad with dimensional foam.
Car
Embellishment:
Stamp
the car (Hello Gorgeous) with Onyx Black VersaFine on white cardstock and heat emboss with clear
powder. Trim the image and color the
windshield, driver and wheels with Memento markers. Set aside.
Apply
Turquoise Gem VersaMagic to white cardstock with a jumbo sponge dauber. Stamp the car over the ink with Onyx Black
VersaFine and heat emboss with clear powder.
Trim the body of the car eliminating the windshield, driver and wheels.
With
dimensional foam, elevate the trimmed inked design over the full image. Attach the dimensional element to the front
of the notepad with additional dimensional foam.
Notepad:
For
a sturdy base for the notepaper, cut a 3 ¼ x 4 ¼ inch piece of cardboard and
using the fastener as a template, lightly trace the holes with a pencil. Create the holes with a hole punch.
Cut
24 pieces of copy paper to measure 3 ¼ x 4 ¼.
Using the cardboard base created in the previous step as a template,
mark the hole placement with a pencil on the copy paper rectangles and punch
the holes.
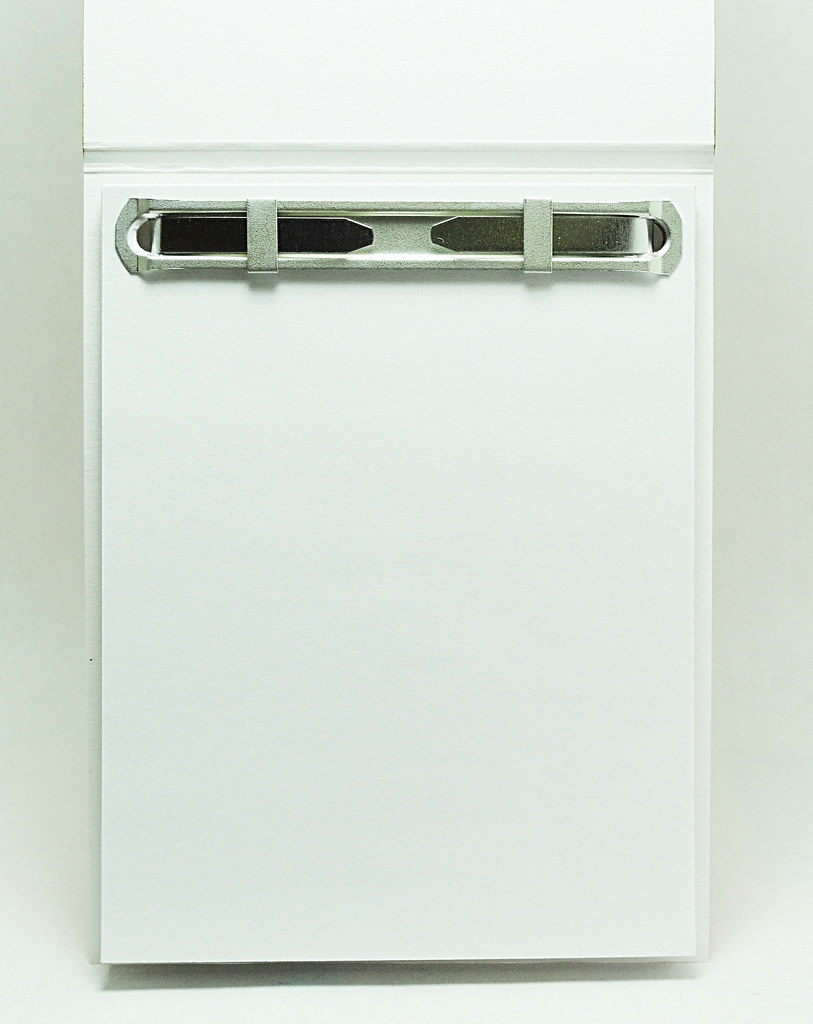
Thread
the cardboard base onto the prong fastener, then the notepaper and finish with
the top portion of the fastener. Secure
the fastener arms.
Apply
heavy-duty, double-sided adhesive tape to the back of the notepad and adhere
inside the cover.
Thank you for "zooming" by today in your cyber car and sharing a bit of your day with me!
Elizabeth
Supplies:
Penny
Black Stamps: Hello Gorgeous 30-097, San Francisco 40-117, New York 40-118, Robust Lowercase 30-002
Penny
Black Mix & Match Cardstock: Rose Garden 14-001, Summer Sun 17-002
ImagineCrafts/Tsukineko: Toffee VersaFine
(VF-052), Vintage Sepia VersaFine (VF-054), Onyx Black VersaFine
(VF-082), Turquoise Gem VersaMagic (VG-015), Love Letter Memento (ME-302), Peanut
Brittle Memento (ME-802), Toffee Crunch (ME-805), Tuxedo Black Memento (ME-900),
Memento Markers: Cantaloupe (PM-103), Angel Pink (PM-404), Lilac Posies
(PM-501), Summer Sky (PM-604), Desert Sand (PM-804), Tuxedo Black (PM-900), London
Fog (PM-901), Sponge Daubers (ST-DAB-003), Jumbo Sponge Daubers (ST-PKG-002)
Clear
Embossing Powder (EB-000-005)
Other:
Dimensional Foam Tape, Heavy-duty, Double-sided Adhesive Tape, Cardboard, Copy
Paper, Hole Punch, Prong Fasteners
For questions and/or comments, please feel free to e-mail me at: elizabeth.a.allan@gmail.com
For questions and/or comments, please feel free to e-mail me at: elizabeth.a.allan@gmail.com


